SSH Keys
On this page, you can find an explanation of how to create, delete SSH Keys and instructions for other steps to manage SSH Keys in the Cloud Console.
Table of contents
SSH Keys page
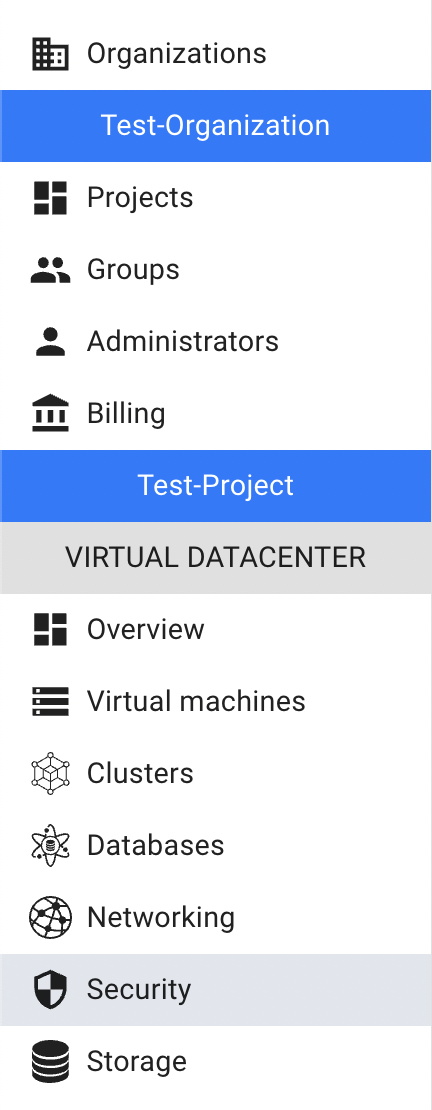
To get to the SSH Keys page, select Security from the VIRTUAL DATACENTER block in the side-bar menu and click the SSH Keys TAB:

On this page you can find all created SSH Keys with the Create and Add buttons, Search bar and Actions icon, which opens a list of available management actions for the selected Key Pair:
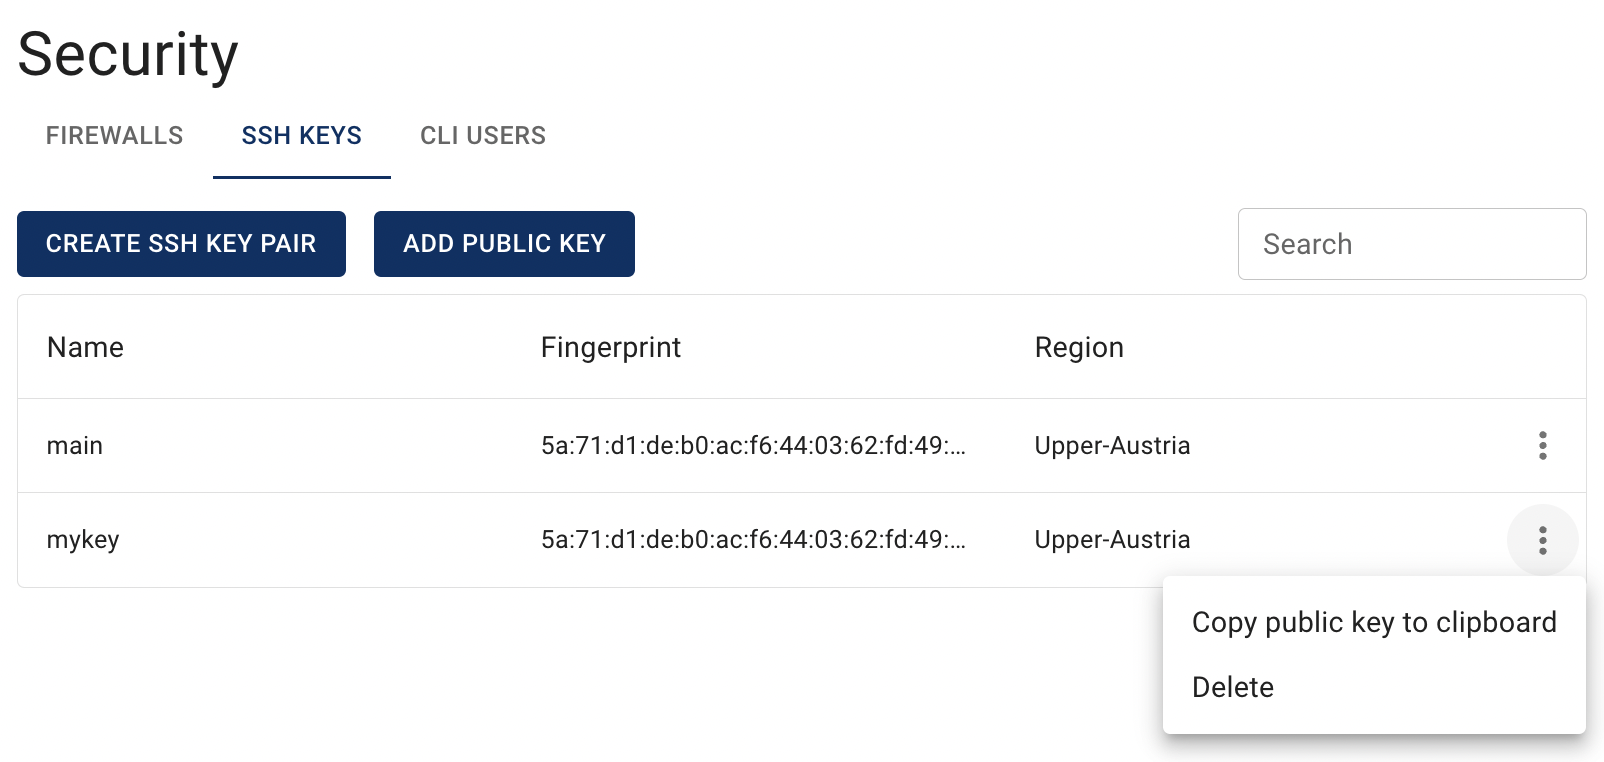
Actions icon opens the next list of available management actions with the selected Key Pair:
- Copy public key to clipboard - this option is used to copy public key;
- Delete - this option is for SSH Key deletion.
Create SSH Key Pair
There are two ways to create new SSH Key:
- from the Virtual Machines page on the step of creating VM:
💡 To find more instructions and information about how to create Virtual Machine see the article - Virtual Machines;
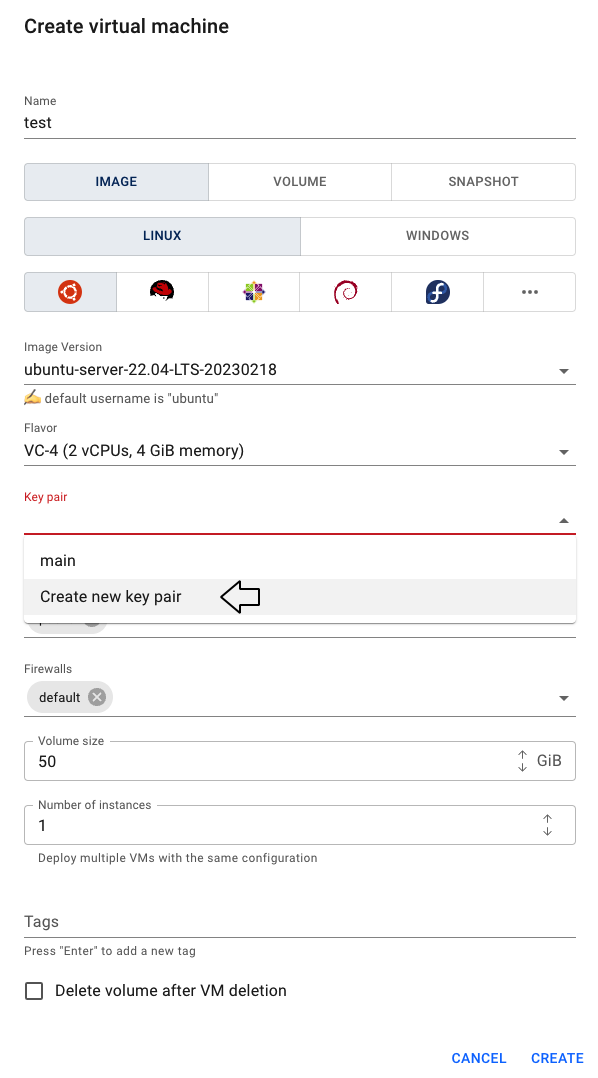
- from the SSH Keys page in few steps:
go to the SSH Keys page and click the CREATE SSH KEY PAIR icon in the upper left corner:

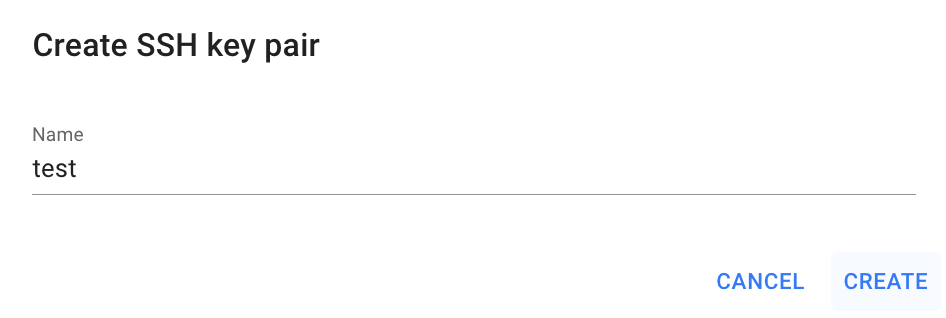
specify the Name on the next opened Create SSH Key window and click on the CREATE icon:
The next open page will provide your Private Key and you can copy it or upload the pem file by choosing the action that suits you best:

📌 You will have access to the private key only after creation, please save it to your private server if necessary.
After these steps, the newly created SSH Key Pair will be added to the SSH Keys page.
Add Public Key
If you want to use your own SSH Key Pair, you can add its public key in the Cloud Console.
For this do the following:
- go to the SSH Keys page and click the ADD PUBLIC KEY icon:

- specify the Name on the next opened Add public key window, paste the public key and click on the ADD icon:
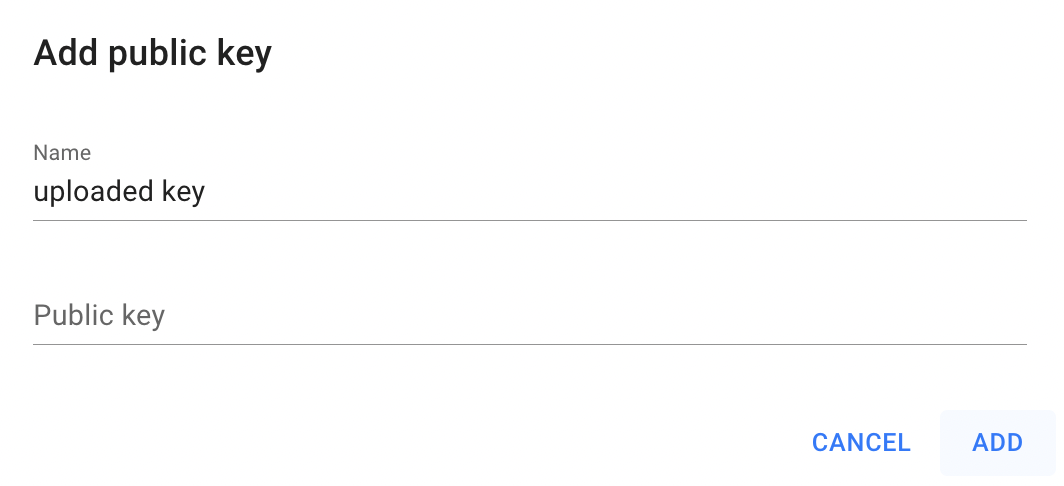
After these steps, this SSH Key Pair will be added to the SSH Keys page.
Copy Public Key
To copy the Public Key of the SSH Key Pair, do the following:
- identify this desired SSH Key Pair on the SSH Keys page;
- click the Actions icon and select the Copy public key to the clipboard in the list of available options.
After these steps, the Public Key of the selected SSH Key Pair will be copied to the clipboard.
Delete SSH Key Pair
To remove the SSH Key Pair, do the following:
- identify this unnecessary SSH Key Pair on the SSH Keys page;
- click the Actions icon and select the Delete in the list of available options;
- confirm the SSH Key Pair deletion on the next opened Confirmation window.
After these steps, the selected SSH Key Pair will be deleted.