Subnets
On this page, you can find an explanation of how to create, edit, delete Subnets and instructions for other steps to manage Subnets in the Cloud Console.
Table of contents
Subnets page
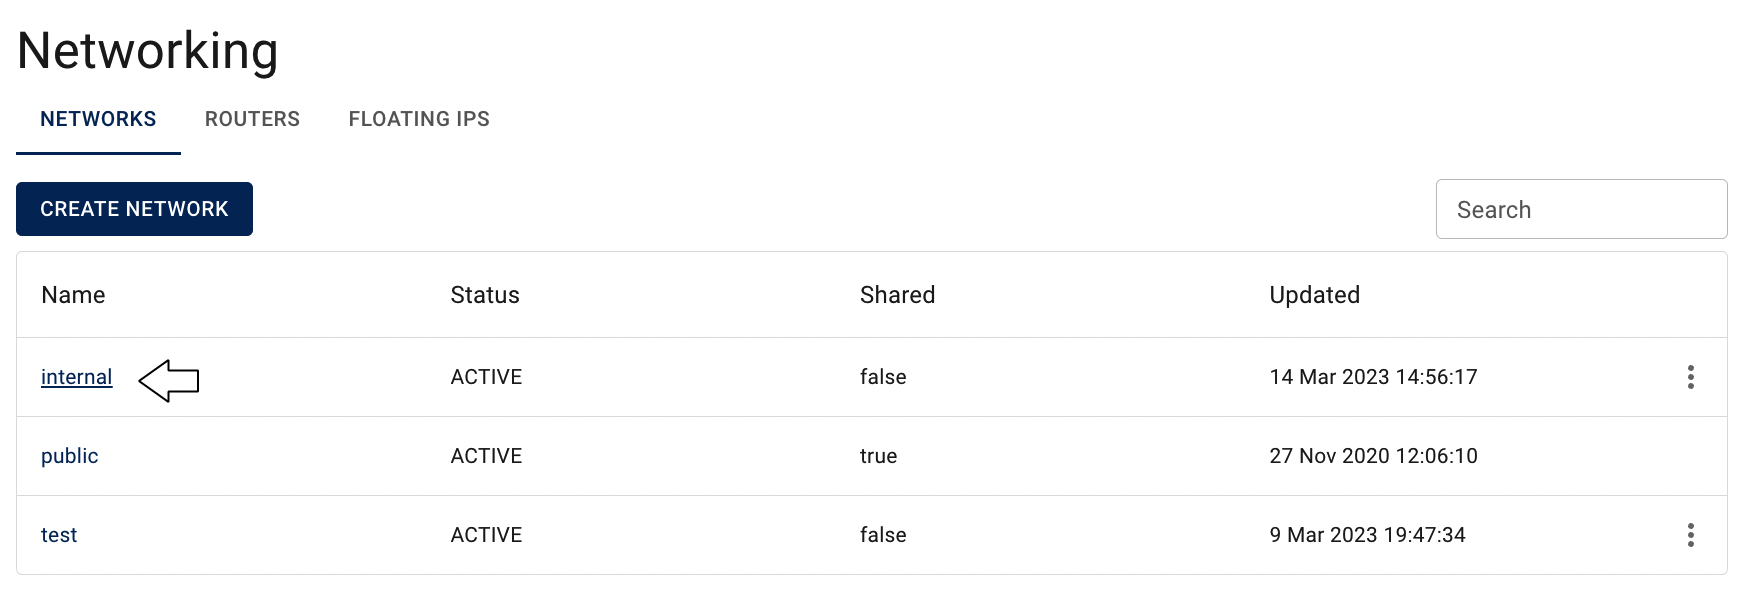
To open the Subnets page, go to Networking page, click on the Name of the corresponding Network and select the Subnets TAB:

On this page you can find all created Subnets, related to the selected Network, with the Create button, Search bar and Actions icon, which opens a list of available management actions for the selected Subnet:

Actions icon opens the next list of available management actions for the selected Subnet:
- Edit - this option is used to update selected Subnet (change Name, Allocation pools, DNS nameservers, Gateway IP, Host routs, state of DHCP and gateway);
- Delete - this option is for Subnet removing.
Create Subnet
To create new Subnet, do the following:
- go to the Subnets page and click on the CREATE SUBNET icon in the upper left corner;
- fill in the form on the next opened Create Subnet window and click on the CREATE icon:
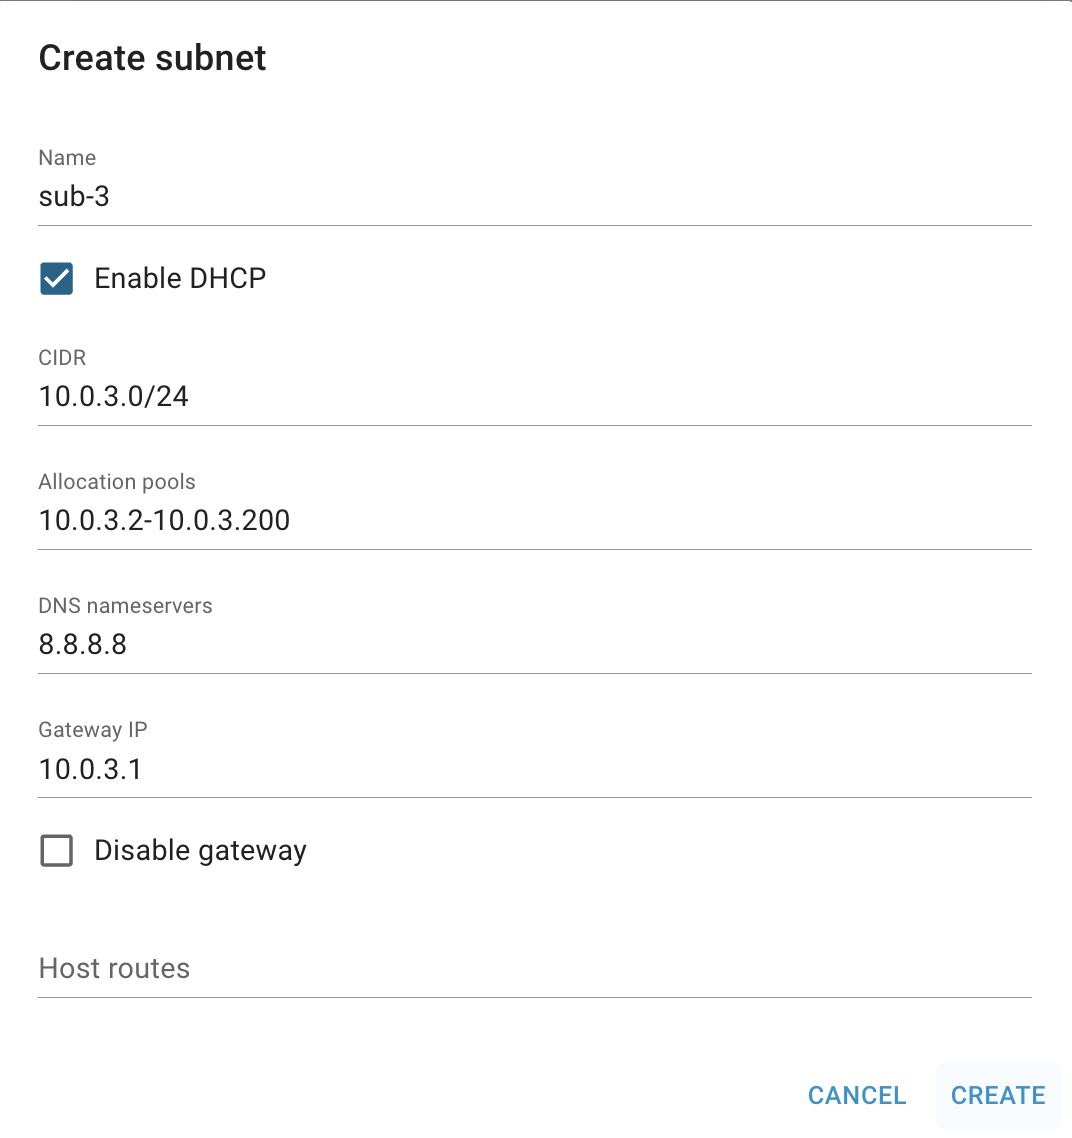
- Name - set a name for the Subnet;
- Enable DHCP - enable or disable Dynamic Host Configuration Protocol for Subnet;
- CIDR - shows Classless Inter-Domain Routing of Subnet;
- Allocation Pools - specify IP address allocation pools; each entry is: start_ip_address-end_ip_address; one entry per line;
- DNS Nameservers - specify the IP addresses of DNS Name Servers; format: comma-separated values;
- Gateway IP - set the IP address of Gateway; the default value is the first IP of the network address; if you want to use the default, leave blank. If you do not want to use a gateway, please check ‘Disable Gateway’;
- Disable Gateway - enable or disable using Gateway IP for Subnet;
- Host Routes - is optional and specifies additional routes announced to the hosts;
each entry is: destination_cidr,next-hop; one entry per line.
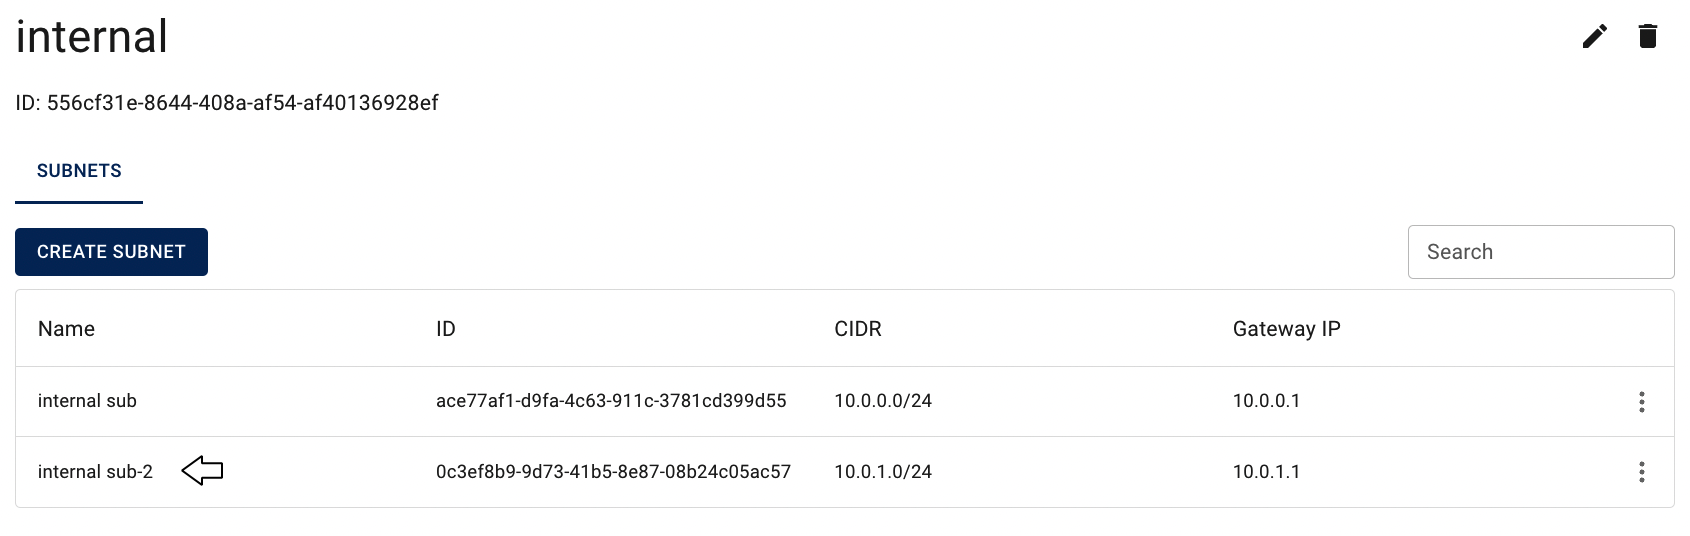
After these steps, the newly created Subnet will be added to the Subnets page:
📝 You can connect Subnets to each other by attaching Router.
Connect Subnets
To connect Subnets to each other or to allow them access to the Internet you need to add them to the previously created Router on the Router details page.
For this follow the next steps:
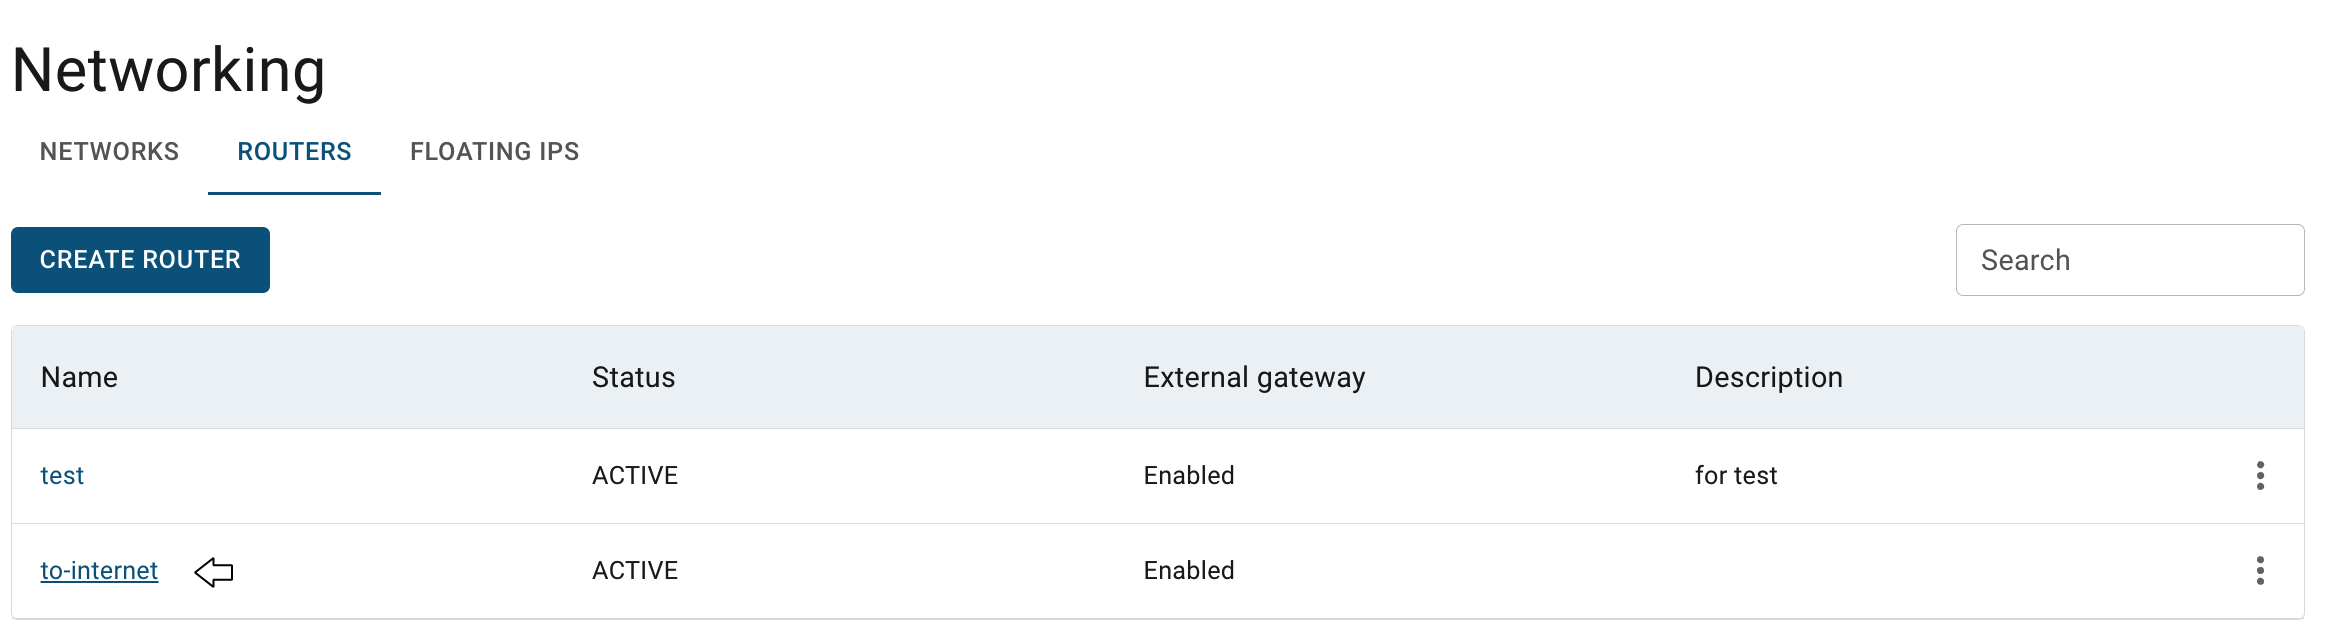
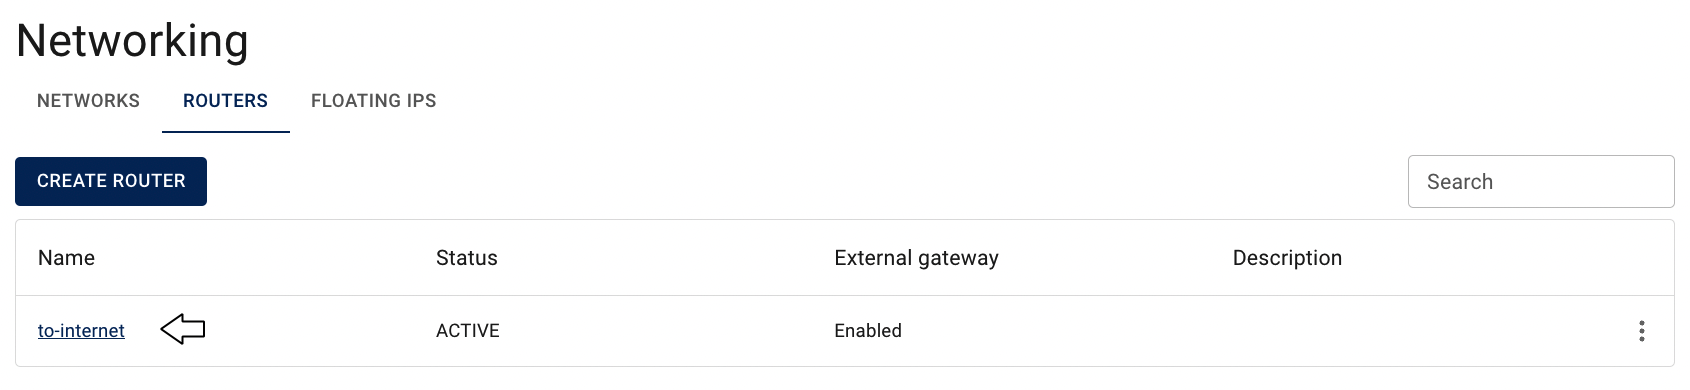
open the Router details page, go to Routers page and click on the Name of the corresponding Router:
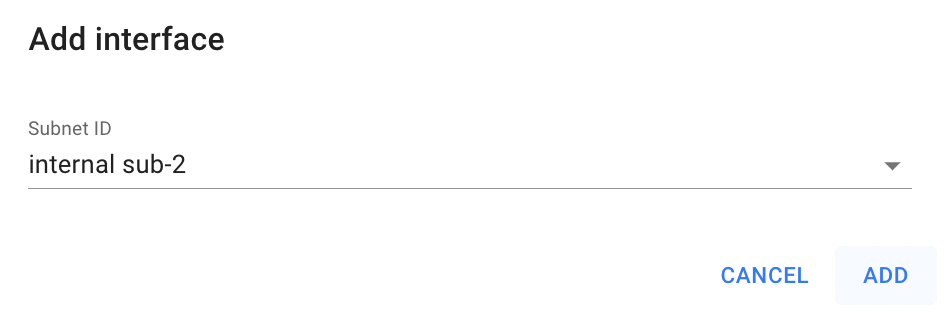
on the opened Router details page click on the ADD INTERFACE icon:
select one of the previously created Subnets on the next opened Add Interface window and click on the ADD icon:
✅ All Subnets that will be added to one Router will be connected to each other:
📌 If Router has an external gateway enabled, the Subnets added to this router will be able to access the Internet.
💡 For more information about Routers, please, see the next article - Routers.
Edit Subnet
To edit the Subnet, do the following:
- identify the Subnet, that you want to edit, on the Subnets page;
- click on the Actions icon and select the Edit in the list of available options;
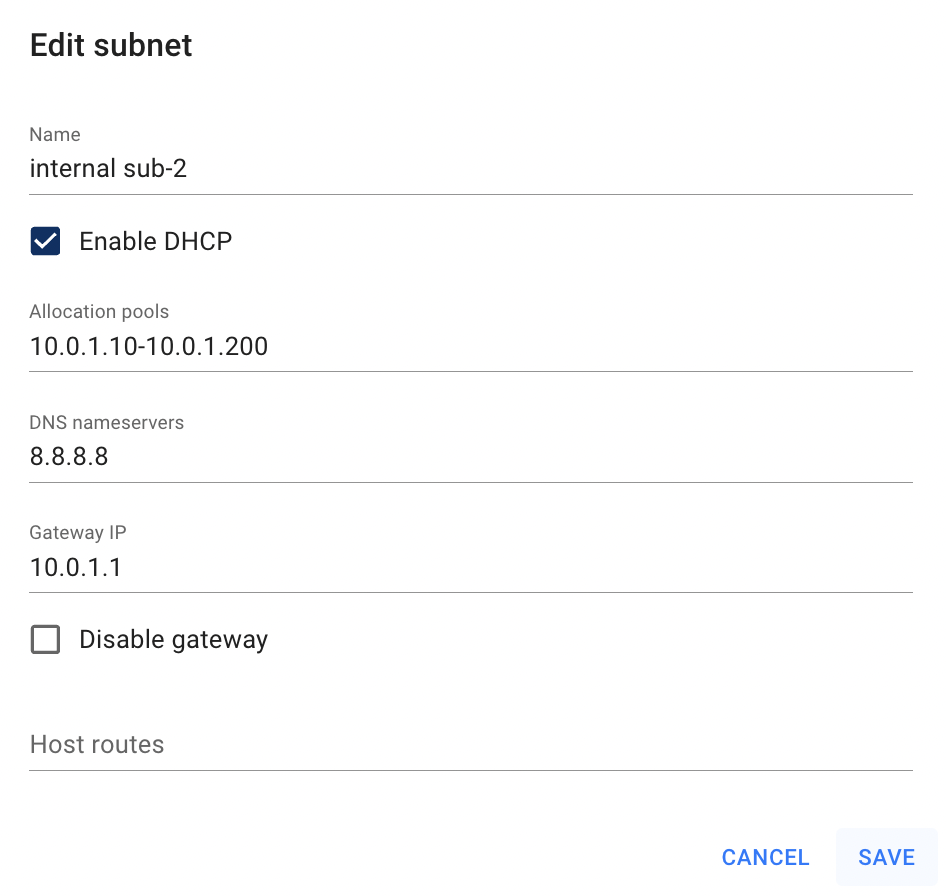
- update the Name, Allocation pools, DNS nameservers, Gateway IP, Host routs or state of DHCP and gateway state on the next opened Edit Subnet window, and click on the SAVE icon:
After these steps, the selected Subnet will be updated.
Delete Subnet
📌 In Cloud Console the Subnets, which interfaces are attached to other cloud resources can’t be deleted.
To delete the Subnet, do the following:
- to identify this unnecessary Subnet on the Subnets page and ensure, that this it isn’t still used by other cloud resources;
- click on the Actions icon and select the Delete in the list of available options;
- confirm the Subnet deletion on the next opened Confirmation window.
After these steps, the selected Subnet will be deleted.