VM's Networks and Interfaces
On this page, you can find an explanation of how to manage Networks and Interfaces, related to the selected Virtual Machine, from the Virtual Machine details page in the Cloud Console.
Table of contents
VM’s NETWORKS & SECURITY TAB
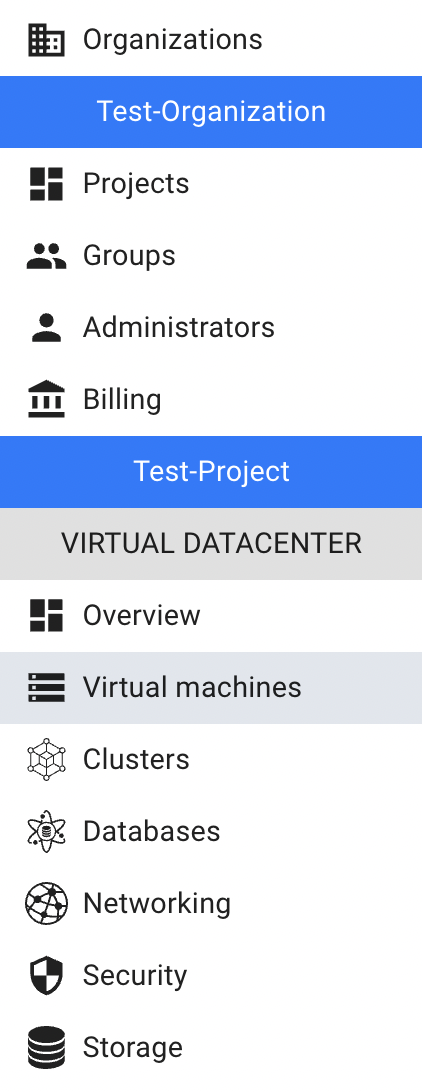
To find all Networks and Interfaces related to the selected Virtual Machine, you need:
- open the Virtual Machines page - for this select the Virtual Machines from the VIRTUAL DATACENTER block in the side-bar menu:
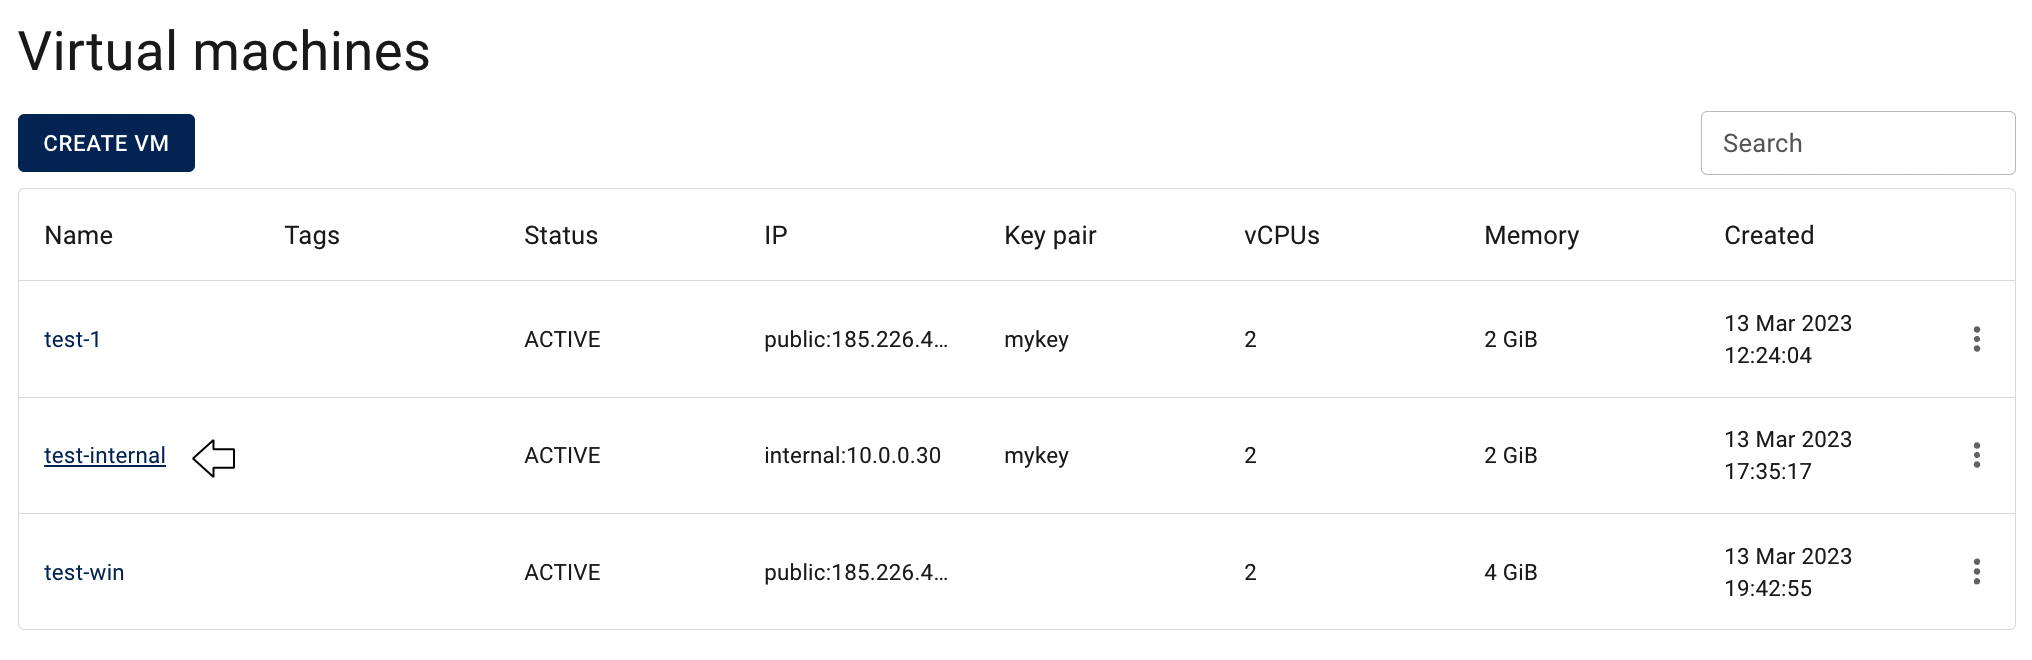
- open the Virtual Machine details page - for this click on the Name of the corresponding Virtual Machine:
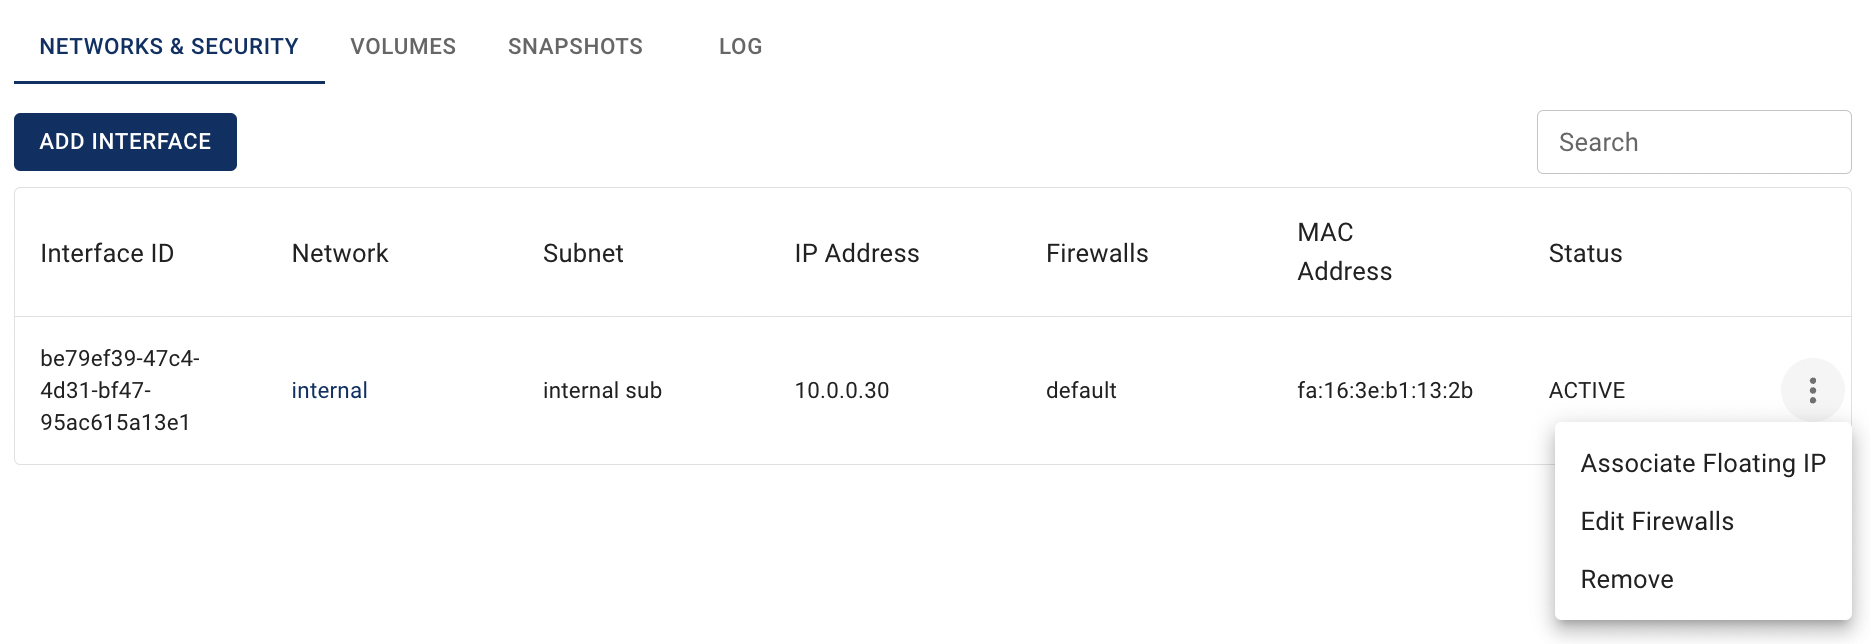
- open the NETWORKS & SECURITY page of this VM - for this click on the NETWORKS & SECURITY TAB:

On the opened NETWORKS & SECURITY page of this VM you can find information about all Networks, Subnets, Ports, Floating IPs and also information about all Firewalls related to this VM.
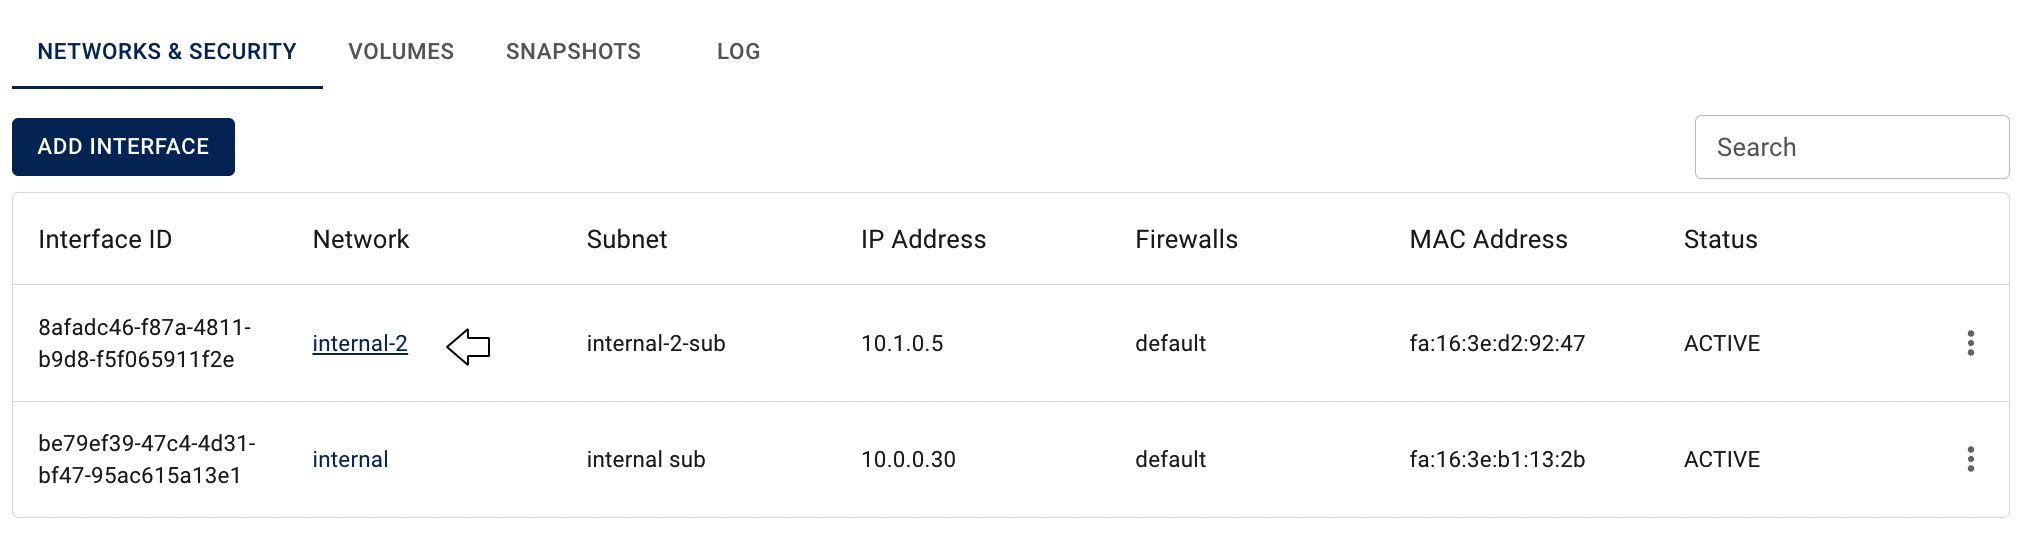
In this article, we are interested in the block of information, where you can find all Networks, Subnets and Interfaces related to the corresponding VM with the Add Interface button, Search bar and Actions icon, which opens a list of available management actions:
💡 Information how to manage Firewalls from this page, you can find in the article VM’s Firewalls .
Add Interface
💡 You can add an interface to a Virtual Machine either by selecting a Network (to create a new port automatically) or by attaching an existing Port.
To add additional Interface to the selected VM, do the following:
- ensure that you have already created a Network with at least one Subnet, or an existing Port;
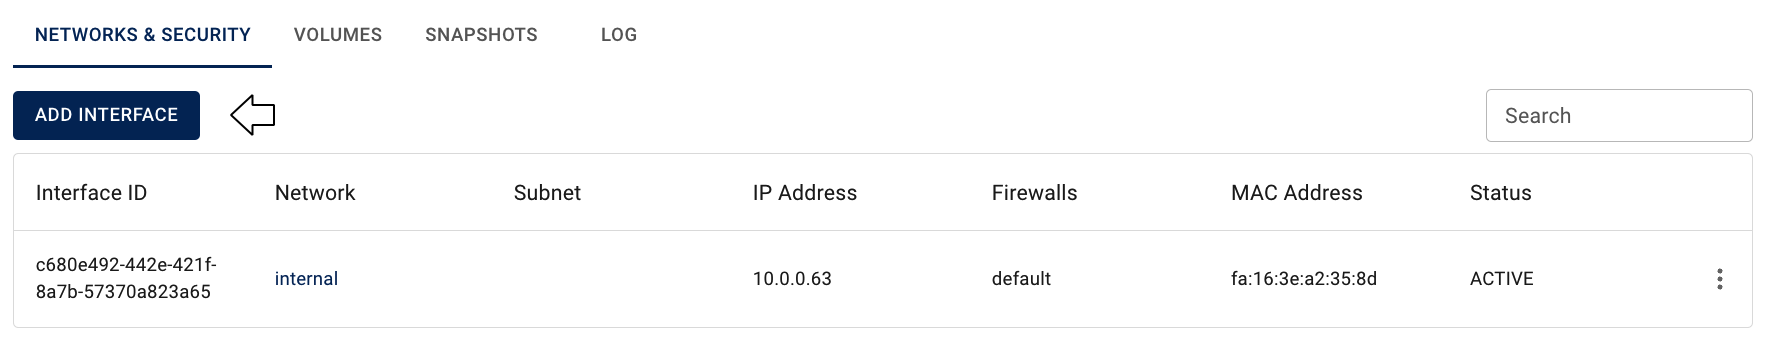
- on the opened NETWORKS & SECURITY page of the VM click on the ADD INTERFACE icon:
- in the opened Add Interface window, select one of the available options:
Network — choose a Network, and optionally specify Fixed IPs within the corresponding subnet:

Port — choose an existing Port to attach to the VM. The assigned firewalls will be displayed automatically as read-only:

💡 You can select only Networks that have associated Subnets.
ℹ️ The Fixed IPs should be selected from the Allocation pools of the corresponding Subnet.
After these steps, the newly added Interface will appear in the NETWORKS & SECURITY TAB of the selected VM detailed page with the status ACTIVE.
Now you can open its Network details page by clicking on the Name of the corresponding Network:
On this page, you can view and manage all Subnets and Ports associated with the selected network.

💡 For more information about Networks, Subnets and Ports, please, see the next articles: Networks, Subnets, Ports.
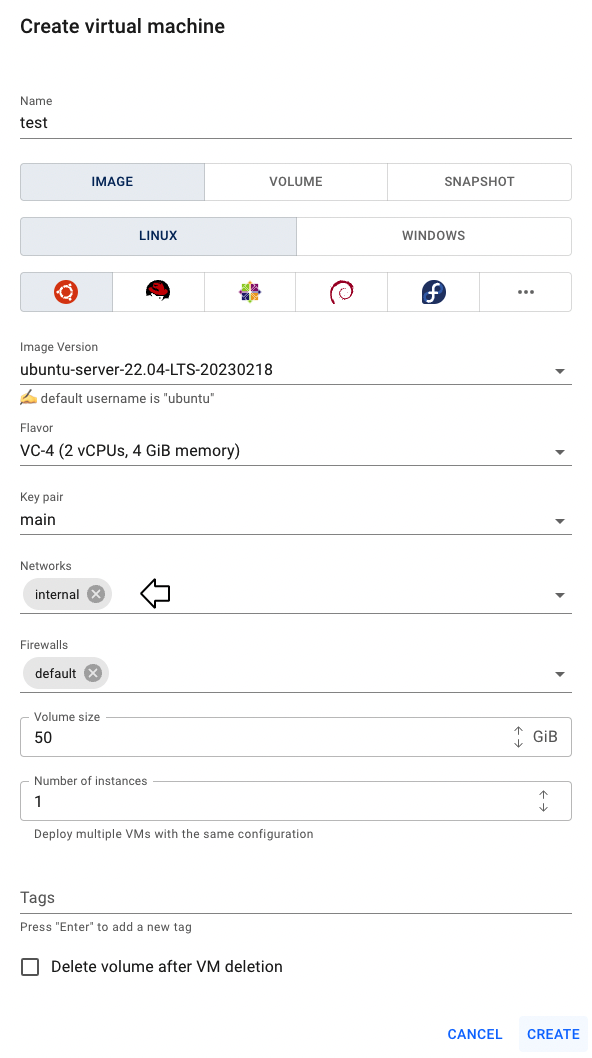
Also, you can create new VM and immediately associate it with Interface of this Network, during it’s creation.
💡 To find information about how to create Virtual Machine use the article Virtual Machines.
Remove Interface
To remove the Interface from the corresponding VM, do the following:
- identify unnecessary Interface on the NETWORKS & SECURITY TAB of the selected VM detailed page;
- click on the Actions icon and select the Remove in the list of available options;
- confirm the Interface deletion on the next opened Confirmation window.
After these steps, the selected Interface will be deleted from the selected VM.
Activate/Deactivate Interface
💡 Activating or deactivating an Interface allows to temporarily enable or disable network connectivity for a Virtual Machine without deleting the Interface itself.
To activate or deactivate the Interface of the selected VM, do the following:
- identify the required Interface on the NETWORKS & SECURITY tab of the selected VM details page;
- click on the Actions icon and select Activate interface or Deactivate interface from the list of available options;
- confirm your action in the next opened Confirmation window.
After these steps, the selected Interface will change its status accordingly — UP when activated, or DOWN when deactivated:

Associate/Disassociate Floating IP
📌 Successfully Associate Floating IP with VM’s internal Interface you can only in case if you have configured Router with enabled external gateway and attached to your internal Network.
To associate already created Floating IP with the VM’s internal Interfaces, do the following:
- ensure that you have configured Router with enabled external gateway, which is attached to your internal Network.
💡 To find information about how to create and configure Router use the article Routers; - ensure that you have created Floating IP and it isn’t already associated with other cloud Resources.
💡 To find information about how to create Floating IP use the article Floating IPs; - click on the Actions icon and select the Associate Floating IP in the list of available options;
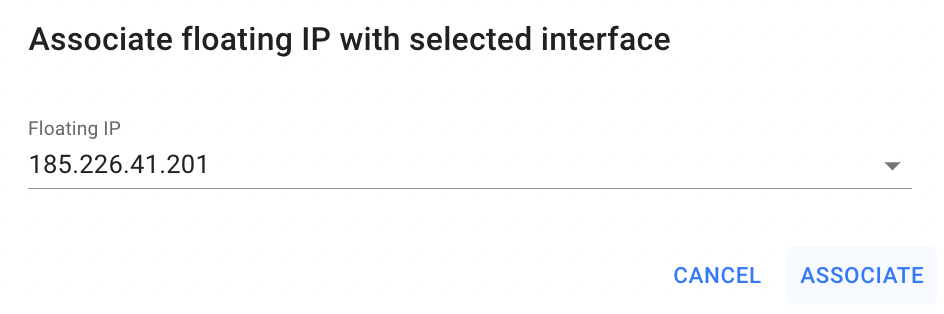
- select one of the available Floating IPs on the next opened window, and click on ASSOCIATE:
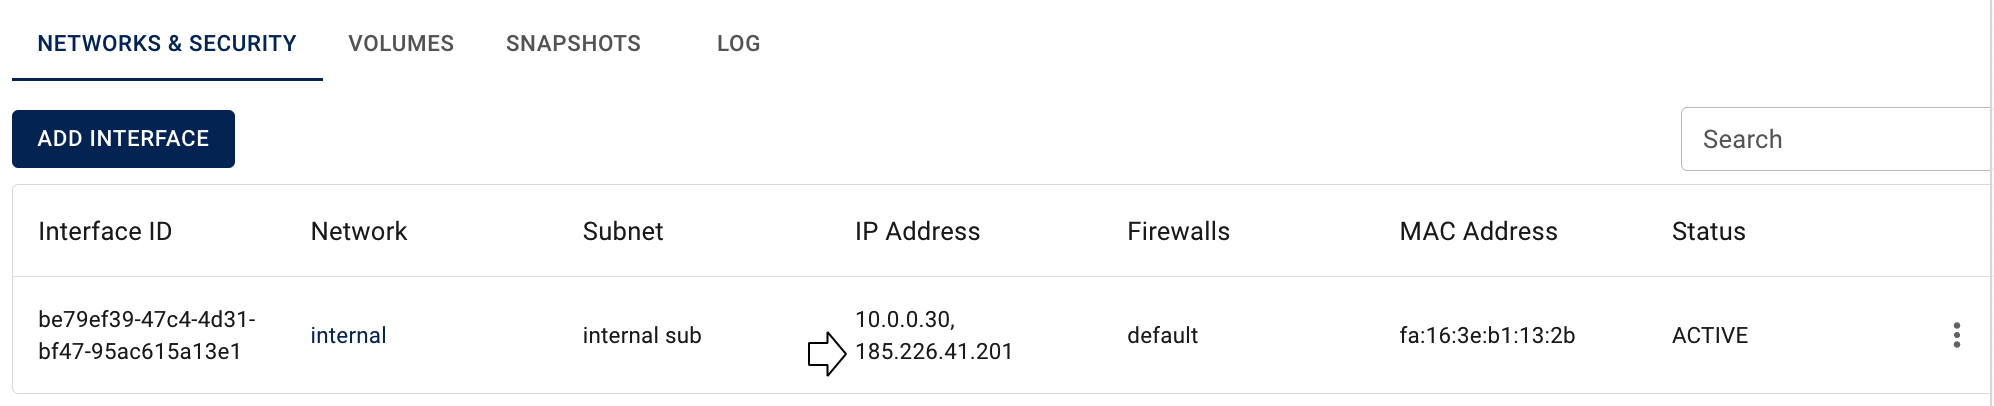
After these steps, the selected Floating IP will be attached with current VM, and this VM will become publicly available:
If you need to disassociate Floating IP and to make your VM again publicly unavailable click on the Actions icon and select the Disassociate Floating IP in the list of available options:
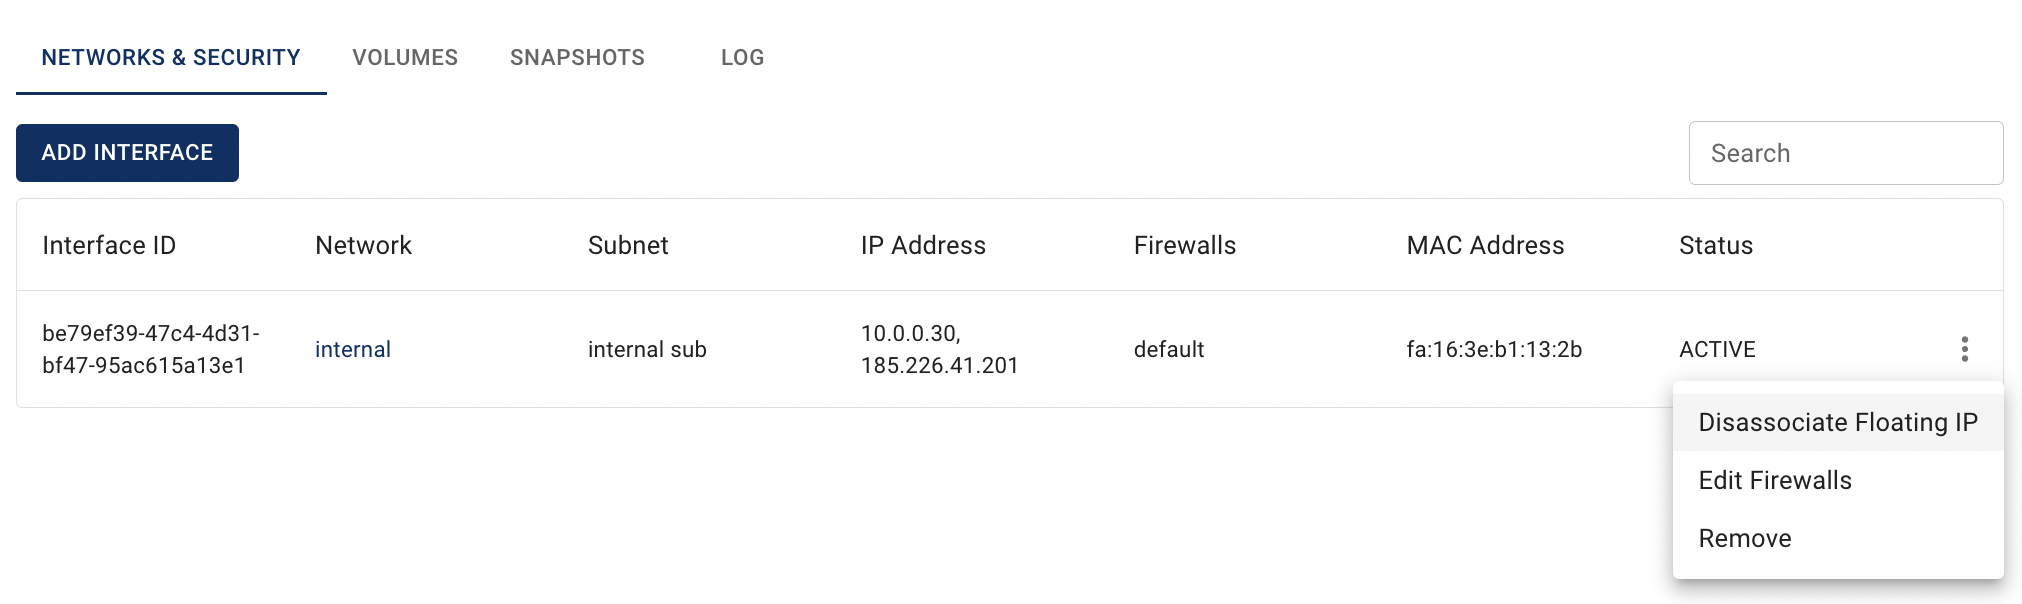
After confirmation your action on the next opened window the selected Virtual Machine will be again publicly unavailable.
💡 To manage Floating IPs you can also form Floating IPs page. To find detailed instructions about it, please, see the article - Floating IPs.