Transfer Images between Regions
On this page, we will discuss a workflow to help you to transfer Images between Projects in the different Regions.
Table of contents
Prerequisites
In this article, we will assume that we have already created two Projects, belonging to different Regions, and the following resources within these Projects:
Project-1 named v-dev, that related to the Vienna Region, with the following resources:
- CLI User named v-CLIuser and which RC file has already been loaded;
- Ubuntu Virtual Machine - IP: 88.218.53.162, Name: test-1; it was created with an additional firewall, configured to allow connection to this VM remotely via SSH;
Project-2 named sw-dev, that related to the Eastern-Switzerland Region, with the following resources:
- CLI User named sw-CLIuser and which RC file has already been loaded;
For more information on the prerequisites discussed, see the following articles:
Projects
CLI Users
Virtual Machines
Access Linux VM
Images
Create Image from Snapshot.
Workflow
In this article, we look at a scenario where it is needed to share a custom Image, uploaded to the Project-1 named v-dev related to the Vienna Region, with the Project-2 named sw-dev related to the Eastern-Switzerland Region. This workflow consists of the next steps:
- Prepare custom Image in the Project-1
- Save custom Image on the VM
- Upload custom Image to the Project-2
Let’s take a closer look at each of them.
Prepare custom Image
You can upload any custom Image that was already saved locally, or create the necessary Image from an Snapshot.
Please choose, what is better for you, and see detailed instructions in the next articles:
Custom Images;
Create Image from Snapshot
Save custom Image
To save custom Image on the VM do the following:
connect to the previously created Virtual Machine in the current Project-1 v-dev;
To find detailed instructions, how to connect to the Linux VM, see the article: Access Linux VMinstall Openstack client on the current VM;
To find detailed instructions, how to Install and configure OpenStack CLI, see the article: Installation OpenStack CLIuse CLI User named v-CLIuser created in the Project-1 - place RC File of the created CLI User to your Virtual Machine and execute it starting with dot:
vi v-openrc. v-openrc
To find detailed instructions, how to load RC Files, see the article: CLI Users
Please note, that RC file of the current CLI User has already loaded.
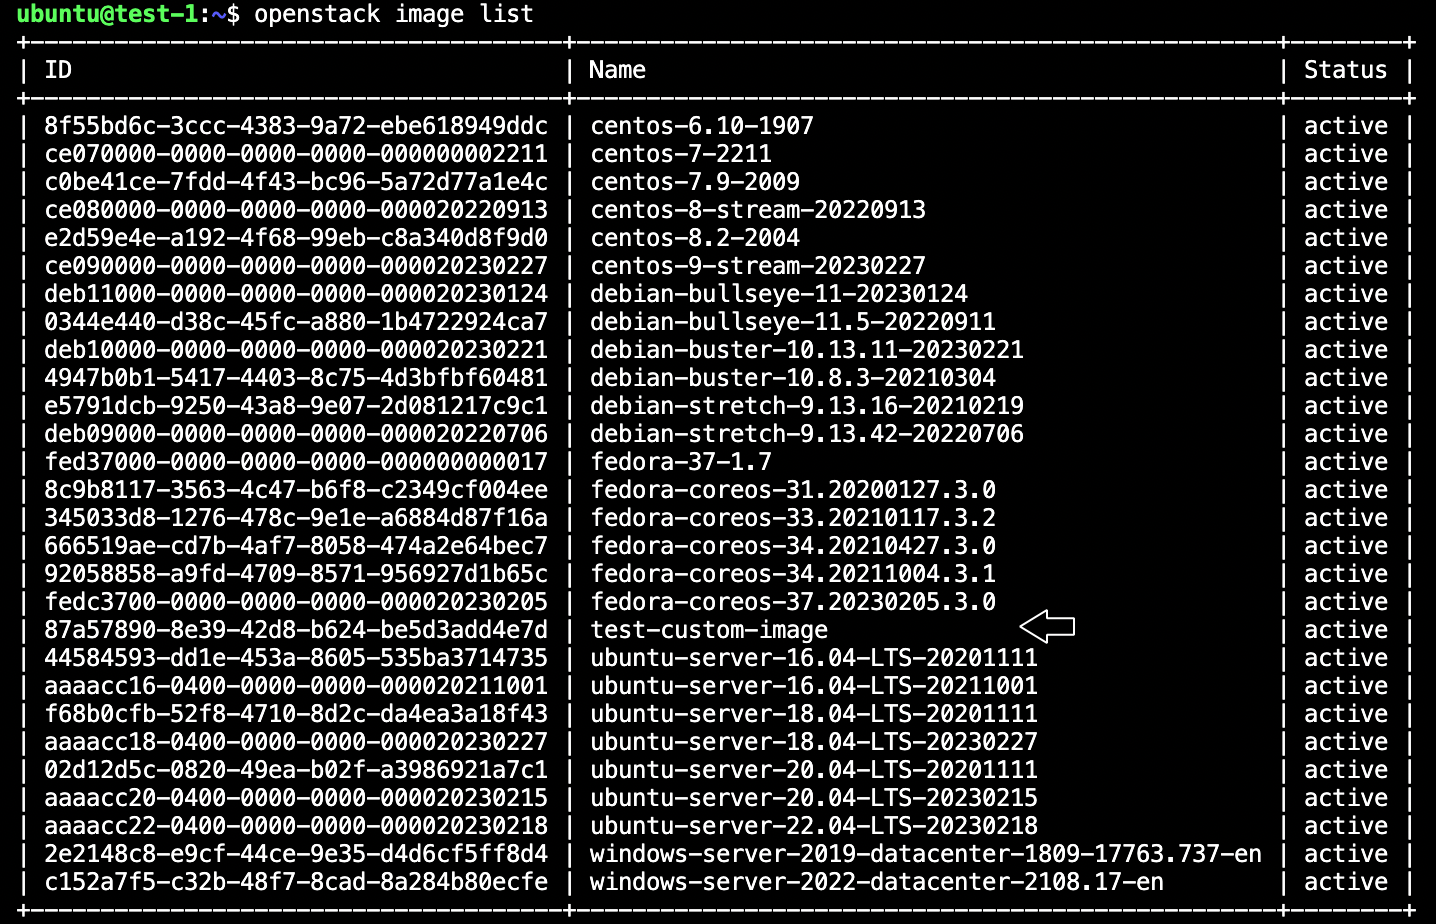
find the ID of the Image you want to transfer:
openstack image listIn our case the output will be next:

save the selected Image on your VM:
openstack image save --file <file-name>.raw <image-id>In our case the command will look like:
ubuntu@vm-1:~$ openstack image save --file image.raw 87a57-...-XXX
Upload custom Image
To Upload custom Image to the Project-2 do the following:
- use CLI User named sw-CLIuser created in the Project-2 - place RC File of the created CLI User to your Virtual Machine and execute it starting with dot:
vi sw-openrc. sw-openrc
Make sure you are logged in to the correct OpenStack platform with your CLI tools
upload your image that you’ve just downloaded using the following command:
openstack image create --container-format bare \
                   --disk-format qcow2 \
                   --file <image_file_name> \
                   --property os_platform='linux' \
                   <image_name>
In our case the command will look like:
openstack image create --container-format bare \
                   --disk-format qcow2 \
                   --file image.raw \
                   --property os_platform='linux' \
                   image-migrated
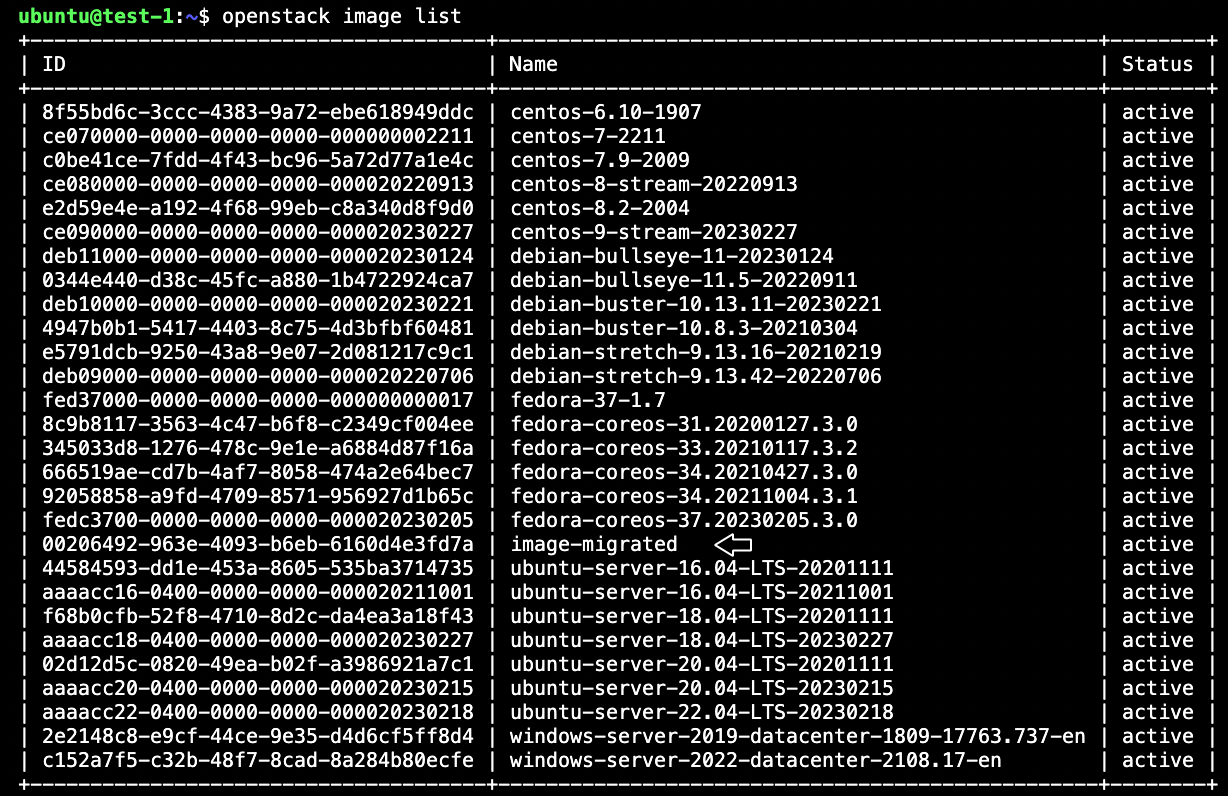
check that the Image is added:
openstack image listIn our case the output will be next:

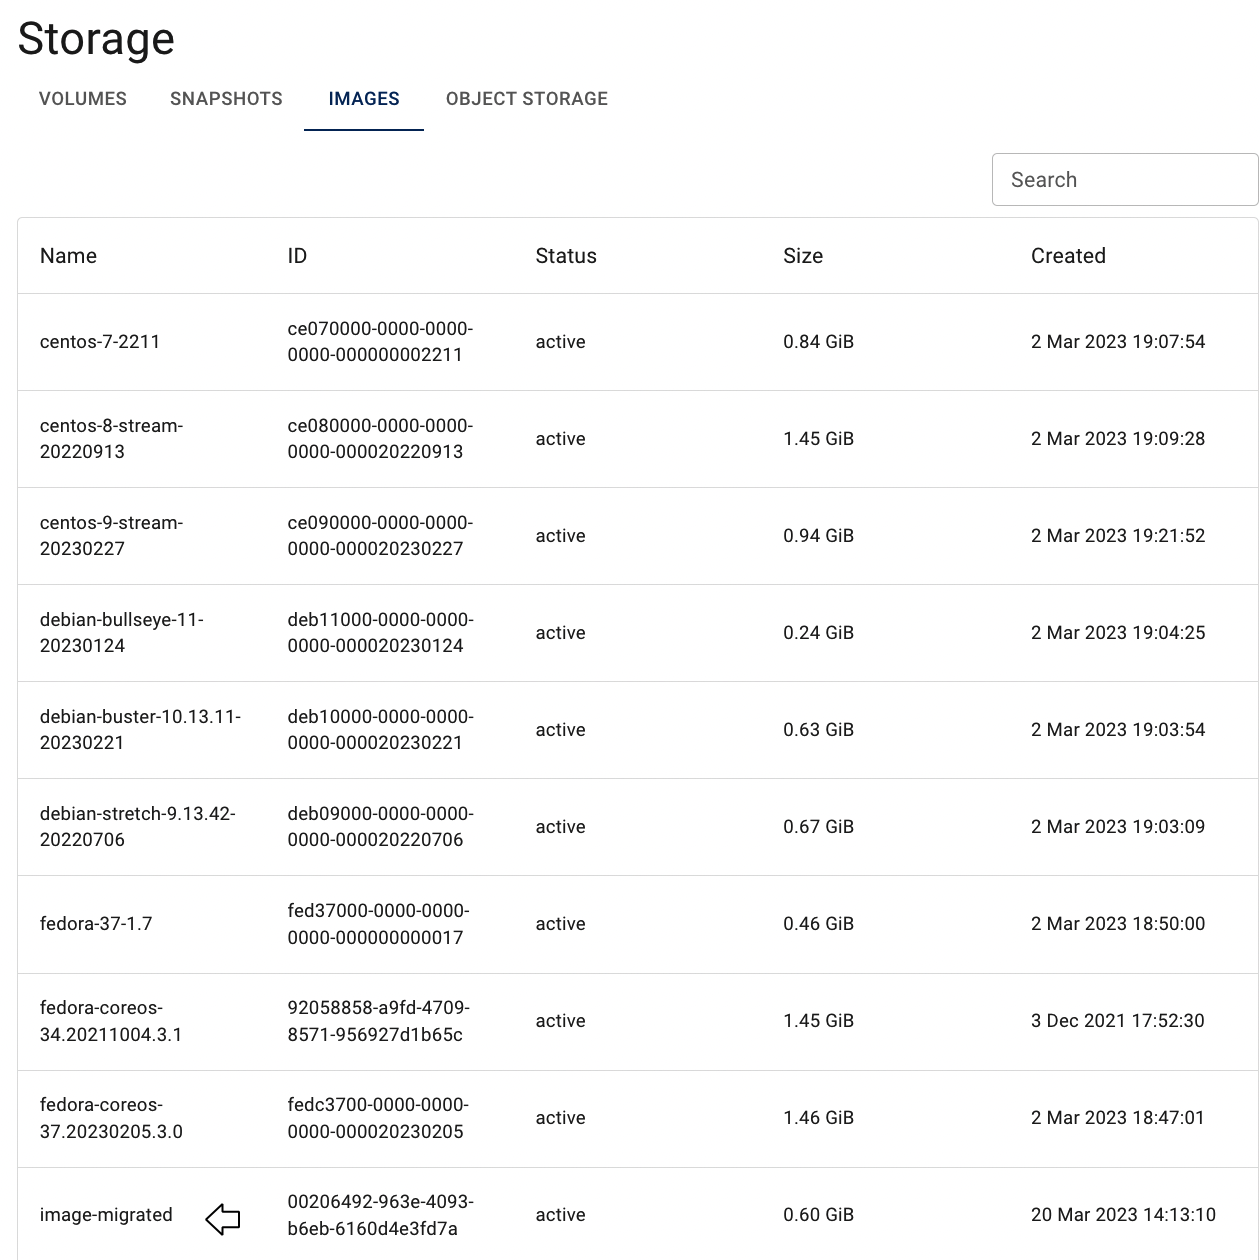
After these steps, the newly created Image will be added to the Images page of the Project-2 related to the Eastern-Switzerland Region and you can use it to create new Virtual Machines within this Region:
