Share Images between Projects
On this page, we will discuss a workflow to help you to share Images between Projects in the same Region.
Table of contents
Prerequisites
In this article, we will assume that we have already created two Projects, belonging to different Organizations, but to the same Region, and the following resources within these Projects:
- Project 1 named dev-1, that was created in the Organization named Test1 and related to the Vienna Region, with the following resources:
- CLI User named dev1CLIuser and which RC file has already been loaded;
- Ubuntu Virtual Machine - IP: 185.226.43.42, Name: test-1; it was created with an additional firewall, configured to allow connection to this VM remotely via SSH;
- Custom Image named test-custom-image;
For detailed instructions on how to upload custom image, see next articles: Custom Images, Create Image from Snapshot
You can upload any custom Image to your Project. Please see detailed instructions, if you need: Images
- Project 2 named dev-2, that was created in the Organization named Test2 and related to the Vienna Region, with the following resources:
- CLI User named dev2CLIuser and which RC file has already been loaded;
If you want to share an Image with another Project, you need to know the ID of this Project.
For more information on the prerequisites discussed, see the following articles:
Projects
CLI Users
Virtual Machines
Access Linux VM
Images
Create Image from Snapshot.
Workflow
In this article, we will look at a scenario where it is needed to share a custom Image, uploaded to the Project-1 named dev-1, with the Project-2 named dev-2. This workflow consists of the next steps:
- Share an Image with another Project
- Accept a shared Image
- Unshare an Image
Let’s take a closer look at each of them.
Share Image with another Project
To share Image with another Project you need to know the ID of this Project (we will use 8726fcdXXXXXXXXXXXXXXXXXXXXXXXXX) and to do the following:
connect to the previously created Virtual Machine in the current Project dev-1;
To find detailed instructions, how to connect to the Linux VM, see the article: Access Linux VMinstall Openstack client on the current VM;
To find detailed instructions, how to Install and configure OpenStack CLI, see the article: Installation OpenStack CLIuse CLI User named dev1CLIuser created in the Project-1 - place RC File of the created CLI User to your Virtual Machine and execute it starting with dot:
vi dev1-openrc. dev1-openrc
To find detailed instructions, how to load RC Files, see the article: CLI Users
Please note, that RC file of the current CLI User has already loaded.
find the ID of the Image you want to share:
openstack image show <image name>share the selected Image with your Project-2 dev-2:
openstack image add project <image ID> <project ID>In our case the output will be next:
ubuntu@vm-1:~$ openstack image add project cc326302-...-XXX 8726fcd...XXX
+------------+--------------------------------------+
| Field      | Value                                |
+------------+--------------------------------------+
| created_at | 2021-11-18T18:14:05Z                 |
| image_id   | cc326302-...-XXX                     |
| member_id  | 8726fcd...XXX                        |
| schema     | /v2/schemas/member                   |
| status     | pending                              |
| updated_at | 2021-11-18T18:14:05Z                 |
+------------+--------------------------------------+
verify the Image is now shared:
openstack image member list <image ID>In our case the output will be next:
ubuntu@vm-1:~$ openstack image member list cc326302-...-XXX
+----------------------+-------------------+---------+
| Image ID             | Member ID         | Status  |
+----------------------+-------------------+---------+
| cc326302-...-XXX     | 8726fcd...XXX     | pending |
+----------------------+-------------------+---------+
The status field should say pending until your collaborator accepts the Image.
Accept shared Image
To accept shared Image do the following:
use CLI User named dev2CLIuser created in the Project-2 - place RC File of the created CLI User to your Virtual Machine and execute it starting with dot:
vi dev2-openrc. dev2-openrcaccept the shared Image:
openstack image set --accept <image ID>In our case the command will look like:
ubuntu@vm-1:~$ openstack image set --accept cc326302-...-XXXverify the Image is now available to your Project:
openstack image listIn our case the output will be next:
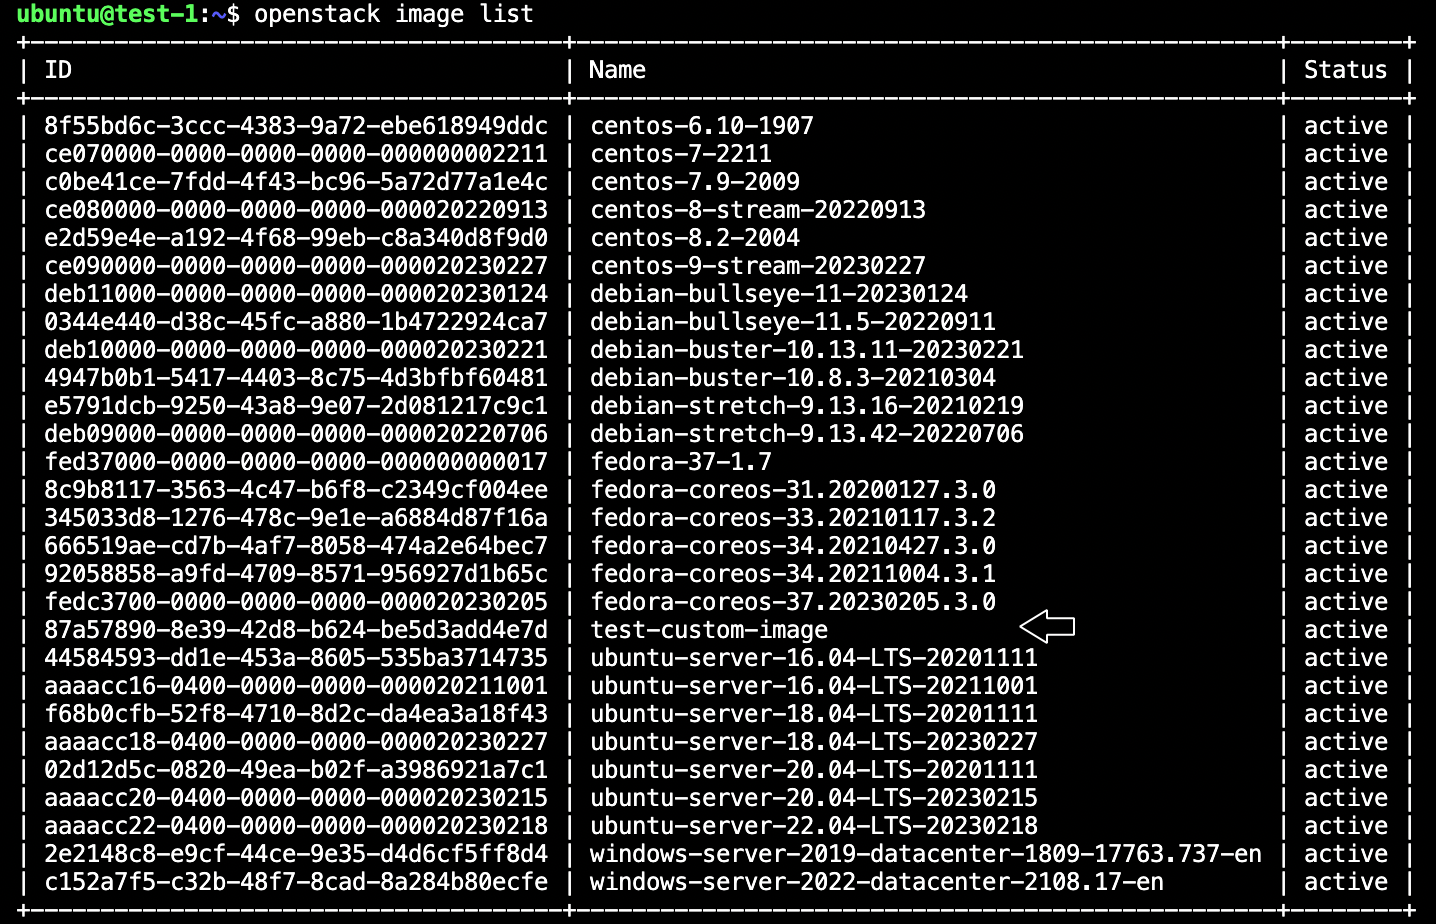
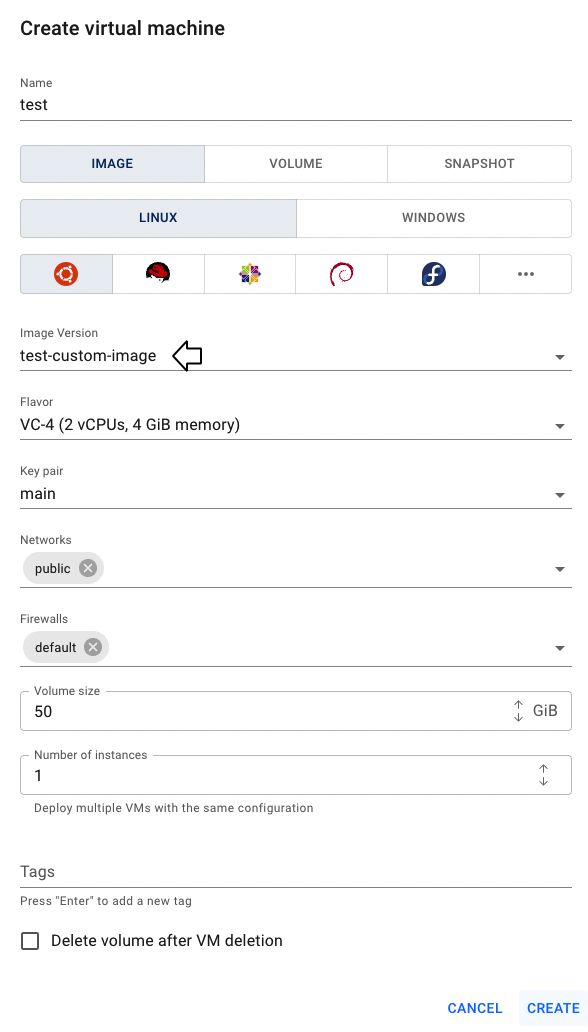
After these steps, the newly created Image will be added to the Images page of the Project-2 named dev-2 and you can use it to create new Virtual Machines within this Project: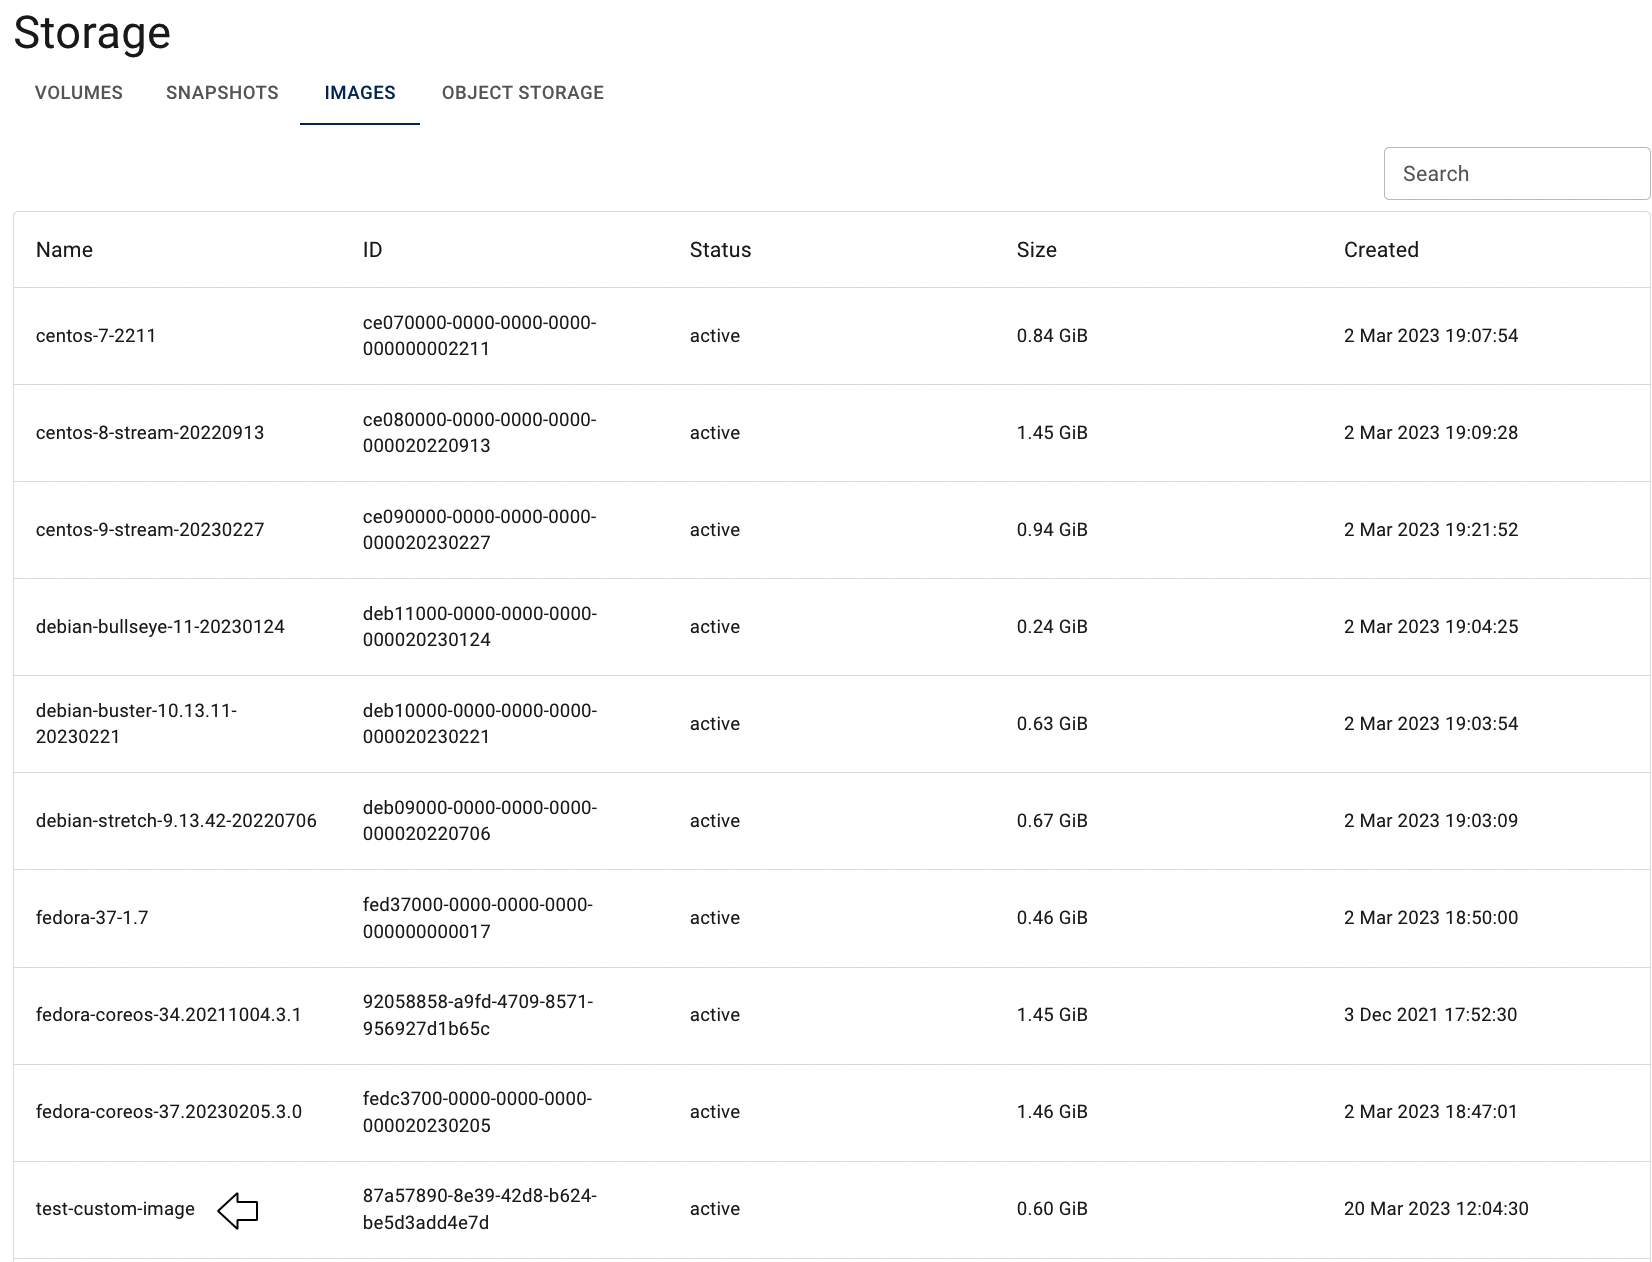
Unshare Image
To unshare an Image use the command:openstack image remove project <image ID> <project ID>
In our case the command will look like:ubuntu@vm-1:~$ openstack image remove project cc326302-...-XXX 8726fcd..XXX