Images
On this page, you can find an explanation of how to find list of default Images in the Cloud Console and how to create and delete custom Images.
Table of contents
Images page
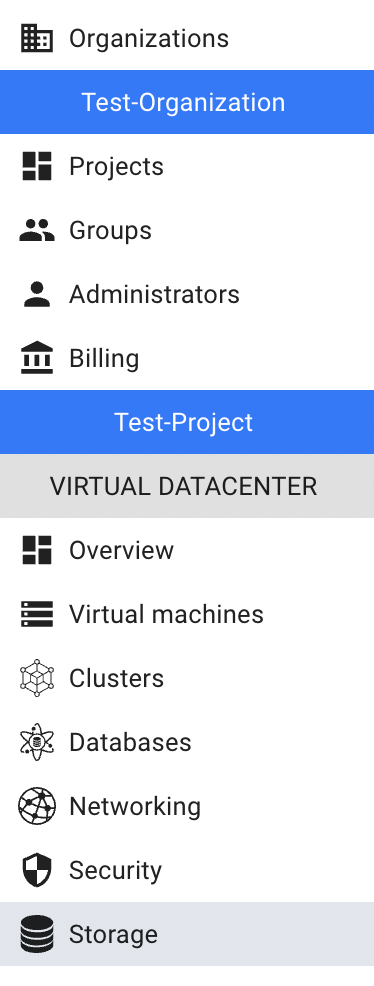
To get to the Images page, select the Storage from the VIRTUAL DATACENTER block in the side-bar menu and click the Images TAB:

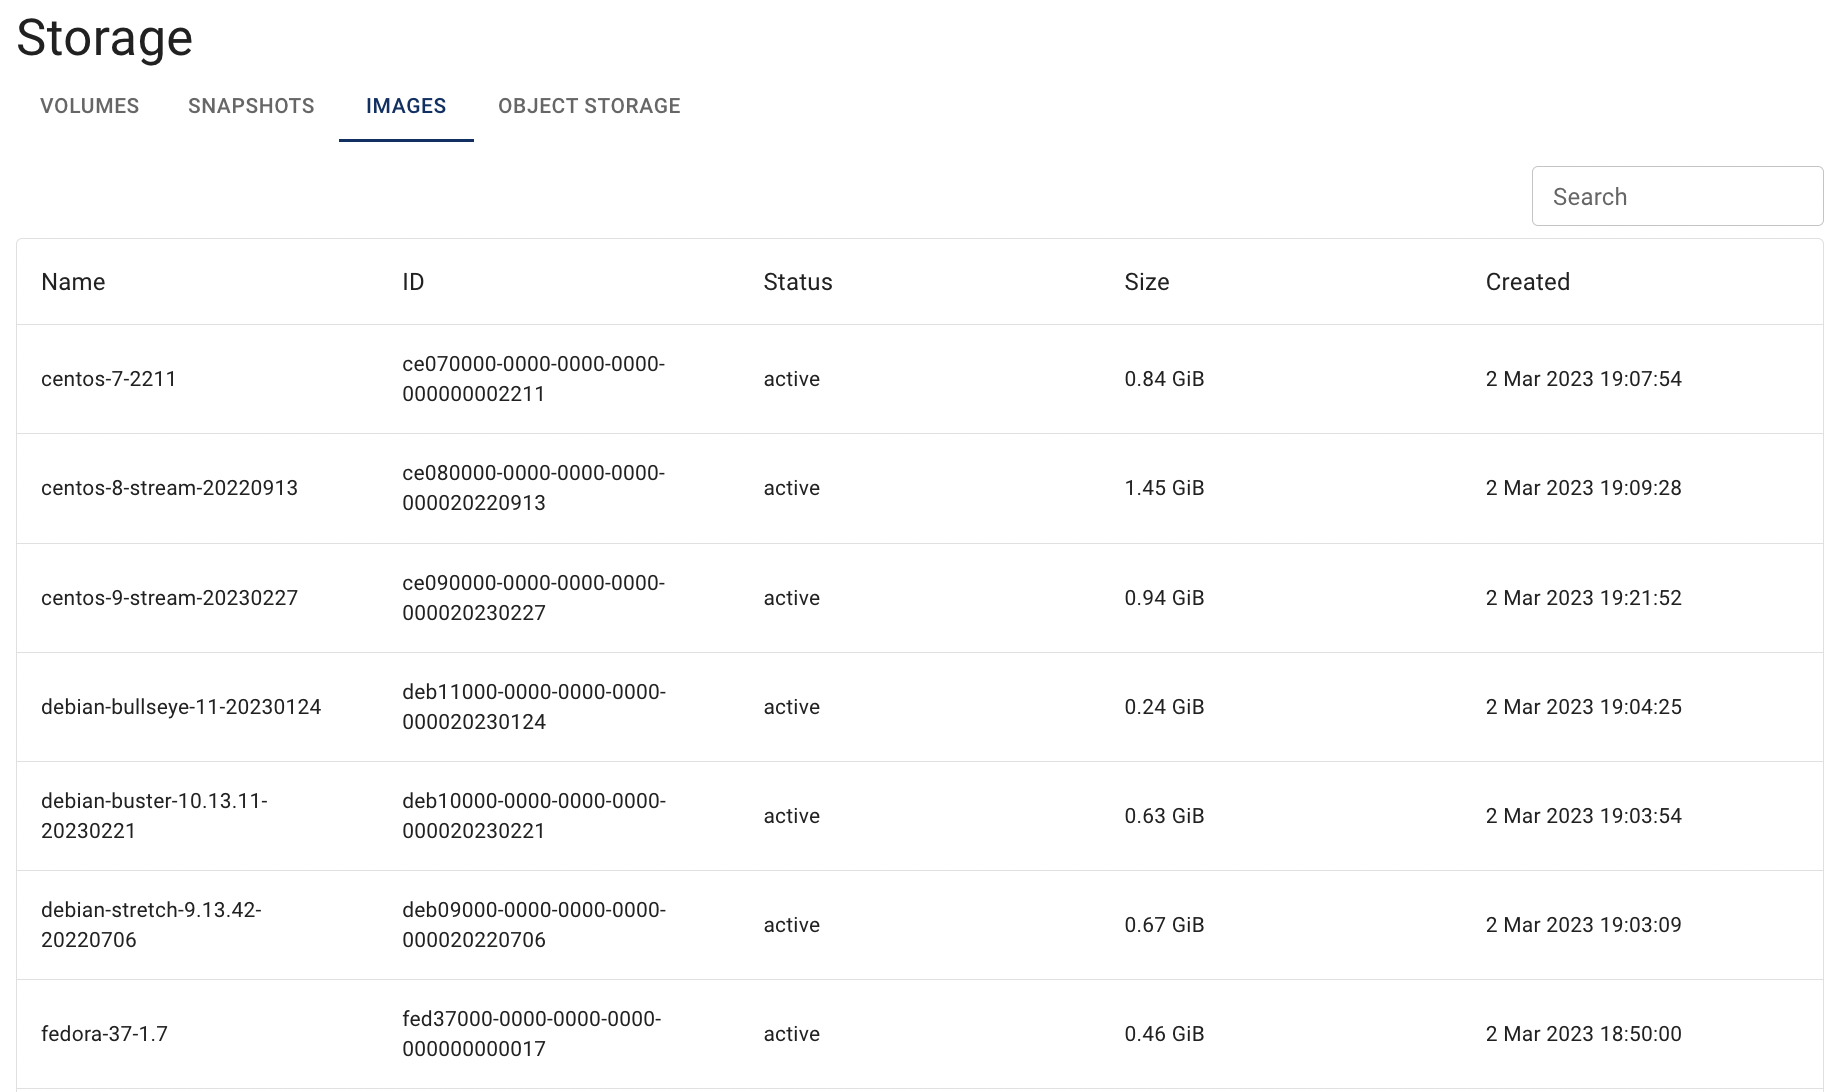
On this page you can find all default and custom Images:
Custom Images
The Cloud Console functionality allows to upload custom Images to the system, which will be available for all resources in the current Project.
Prerequisites
In this article we will assume, that we have already created the following resources, that refer to the Project named Test-Project, that was created in the Organization named Test-Organization:
- SSH Key, that will be specified during creating the Virtual Machine and Kubernetes Cluster for further connection to them via SSH; it was created with the next parameters:
- Name: main;
- Public key is placed on the Linux VM during its creation;
- Private Key was copied to the clipboard and saved on the local system in the text file (for example: ~/.ssh/id_rsa).
- Firewall (Name: for-ssh), that will be specified during creating the Virtual Machine for further connection to it via SSH - it was created with additional rule allowing incoming traffic on port 22; this rule was created with the next parameters:
- Description: for ssh;
- Direction: ingress;
- Protocol: TCP;
- Port option: Port;
- Port: 22;
- Remote: CIDR;
- Remote IP range: 0.0.0.0/0
- Ubuntu Virtual Machine (IP: 185.226.43.42), from which we will create custom Image; it was created with the next parameters and with additional Firewall named for ssh, configured to allow incoming traffic on port 22,so we can connect to this Virtual Machine remotely from our local server via SSH:
- Name: test-1;
- Flavor: VC-2;
- Image: ubuntu-server-20.04-LTS-20201111;
- Key pair: main;
- Networks: public;
- Firewalls: default, for ssh
- Volume size: 50.
- CLI User, created with the following parameters and its RC file has already been loaded:
- Name: test-conn;
- Password: P@sword.
For more information about creating and configuring these resources, see the following articles:
Get Images list
To get the list of all available Images in the current Project, follow the next steps:
Login to your Ubuntu Virtual Machine, from which you are going to create custom Image;
for this we use SSH protocol - to find additional information about, it see the article: Access Linux VMssh -i ~/.ssh/id_rsa ubuntu@185.226.43.42Update Ubuntu package sources by running the following command:
sudo apt updateInstall Kubernetes Python Client by running the next command:
sudo apt install python3-pipInstall openstack cli tool by running two next commands one by one:
sudo pip3 install python-openstackclientsudo pip3 install python-magnumclient
In this example we are using python-openstackclient 5.4.0 version.
Check your current version and, if necessary, install the required:openstack --version;pip3 uninstall openstacksdk;pip3 install python-openstackclient==5.4.0.
- Place RC File of the created CLI User to your Virtual Machine:
vi openrc
Check that there were indicated the correct OS_USERNAME and OS_PROJECT_ID and press Esc:wq, then Enter to save the changes:
#!/usr/bin/env bash
	export OS_AUTH_URL=https://upper-austria.ventuscloud.eu:443/v3
	export OS_PROJECT_ID=e6370ed9ff7c4122b2b89cde7ff7d29f
	export OS_PROJECT_NAME="e6370ed9ff7c4122b2b89cde7ff7d29f"
	export OS_USER_DOMAIN_NAME="ventus"
	if [ -z "$OS_USER_DOMAIN_NAME" ]; then unset OS_USER_DOMAIN_NAME; fi
	export OS_PROJECT_DOMAIN_ID="e1780e7170674d5684076a726f683cfd"
	if [ -z "$OS_PROJECT_DOMAIN_ID" ]; then unset OS_PROJECT_DOMAIN_ID; fi
	unset OS_TENANT_ID
	unset OS_TENANT_NAME
	export OS_USERNAME="48529f99-8e10-4694-9412-70e1012de805:test-conn"
	echo "Please enter your OpenStack Password for project $OS_PROJECT_NAME as user $OS_USERNAME: "
	read -sr OS_PASSWORD_INPUT
	export OS_PASSWORD=$OS_PASSWORD_INPUT
	export OS_REGION_NAME="Upper-Austria"
	if [ -z "$OS_REGION_NAME" ]; then unset OS_REGION_NAME; fi
	export OS_INTERFACE=public
	export OS_IDENTITY_API_VERSION=3
Execute openrc starting with dot:
. openrcProvide the password of the created CLI User and hit Enter - this password will be used to authenticate you in the Cloud Console.
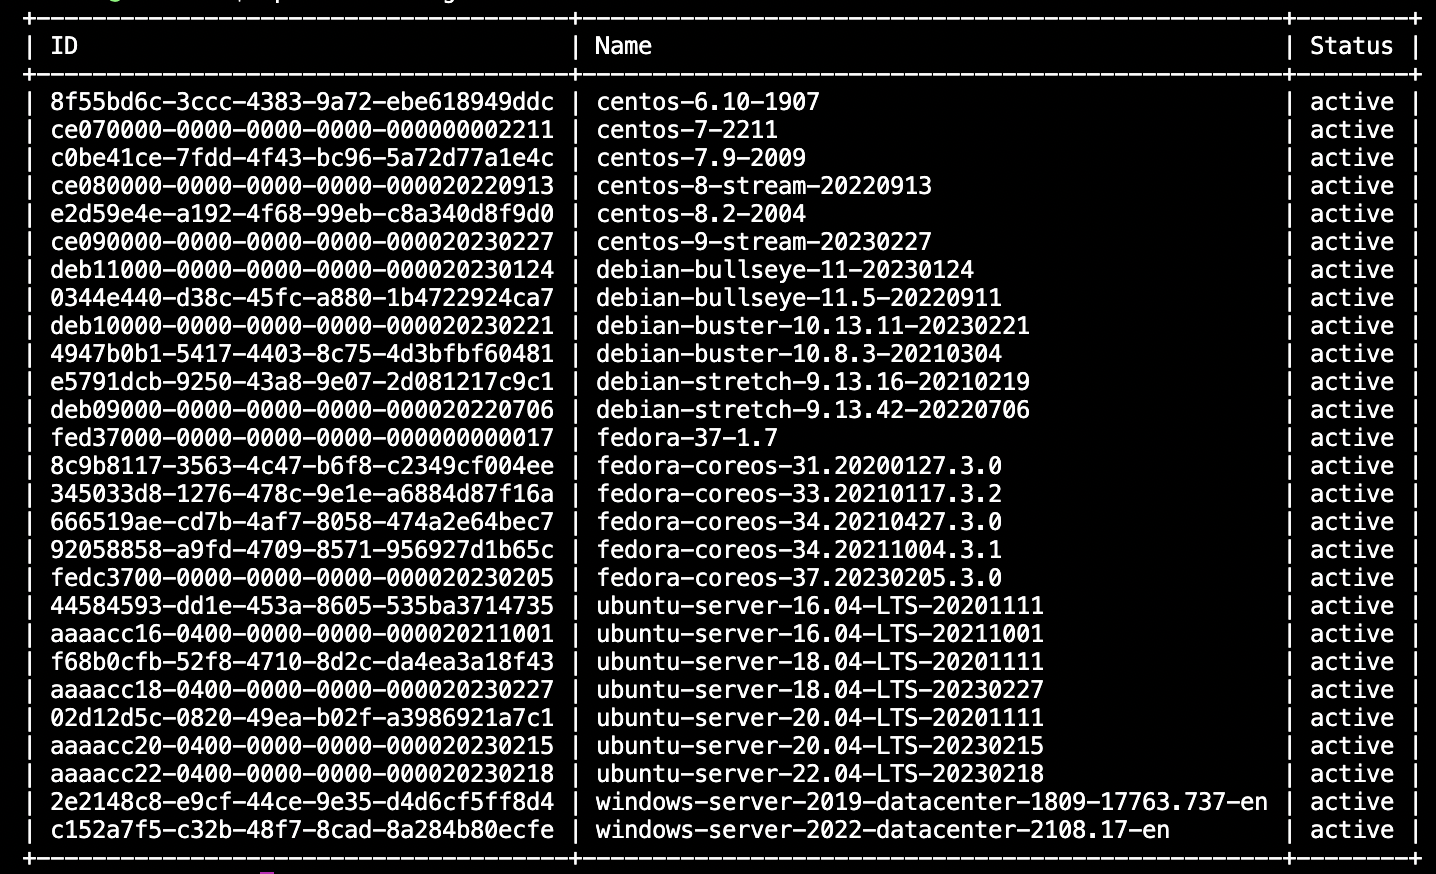
Run the next command to get a list of all available Images:
openstack image list
In our case the output will be next:
Also, all this Images you can find on the Images page in the Cloud Console and use one of them during VM creation:
Create custom Image
To create/upload a custom Image, follow the next steps:
Prepare your own Image that you want to upload to the Cloud Console.
In our case, we use just one of the Ubuntu images, but you can upload your own unique Image that should be located locally:wget https://cloud-images.ubuntu.com/focal/current/focal-server-cloudimg-amd64.imgUpload your own unique Image, which is already located locally - for this, use the following command:
openstack image create \ --disk-format=qcow2 \ --container-format=bare \ --file=focal-server-cloudimg-amd64.img \ --property os_distro='ubuntu' \ --property os_platform='linux' \ test-custom-image- –disk-format - The supported options are: ami, ari, aki, vhd, vmdk, raw, qcow2, vhdx, vdi, iso, and ploop. The default format is: raw.
- –container-format - The supported options are: ami, ari, aki, bare, docker, ova, ovf. The default format is: bare.
- –file - Upload image from a local file.
- –property - Set a property on this image (repeat for multiple values).
- test-custom-image - New image name.
Also, here you can use some other required arguments, for example: - –location - Download image from an existing URL.
- –copy-from - Copy image from the data store (similar to *–location*).
- –volume - Create an image from a volume.
To find more required arguments use the next command:
openstack image create --help
Make sure you correctly specified os_platform property.
Supported values: linux or windows.
Without it, you won’t see your Image in the Web Console interface.
- Next, make sure that our new Image appeared among the available - for this, use again the
openstack image listcommand;
In our case the output should be the next: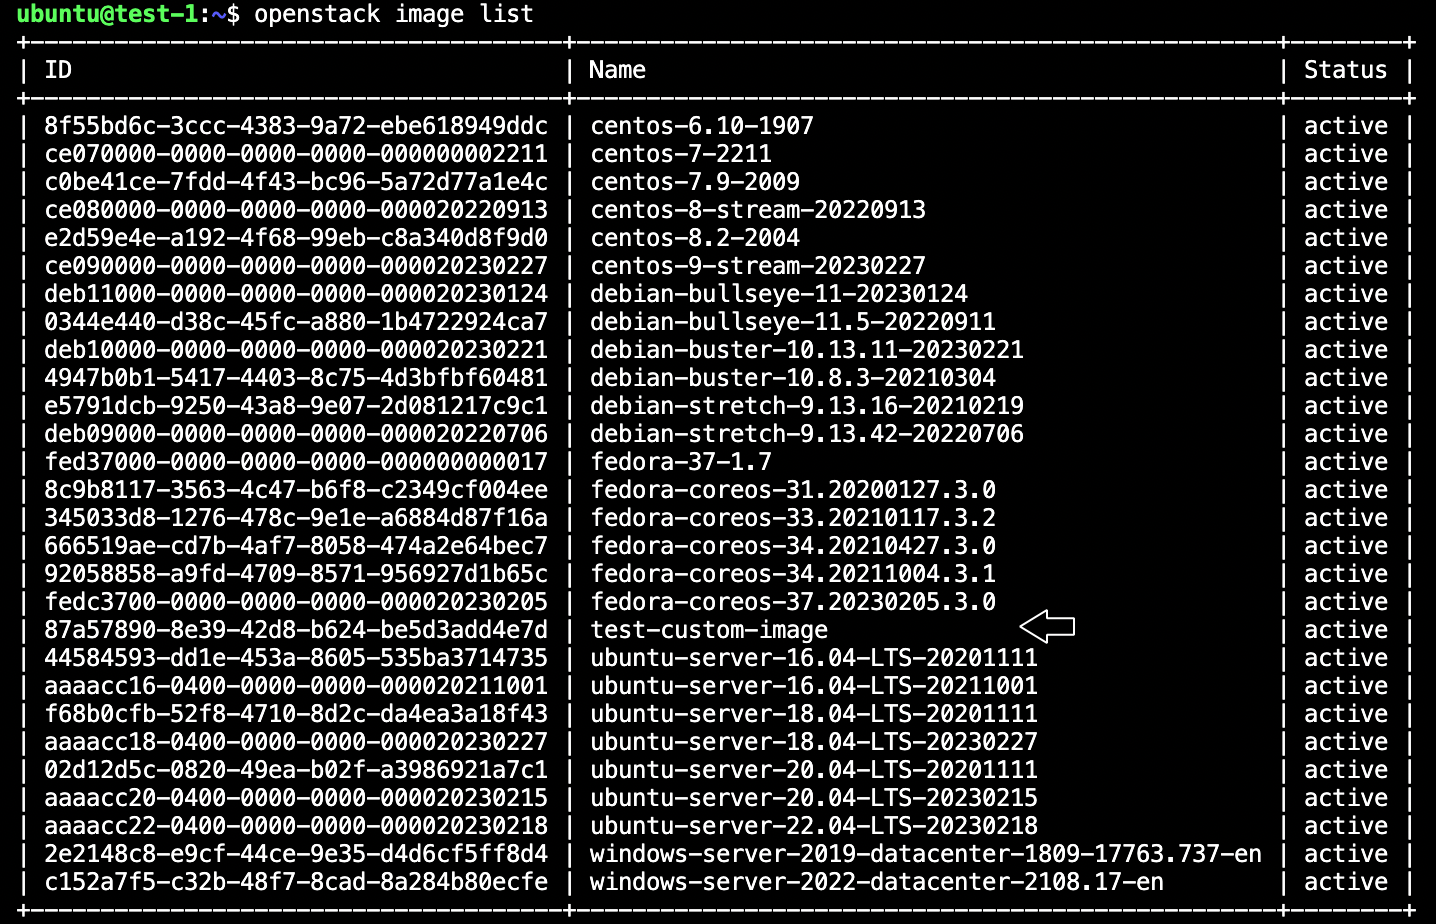
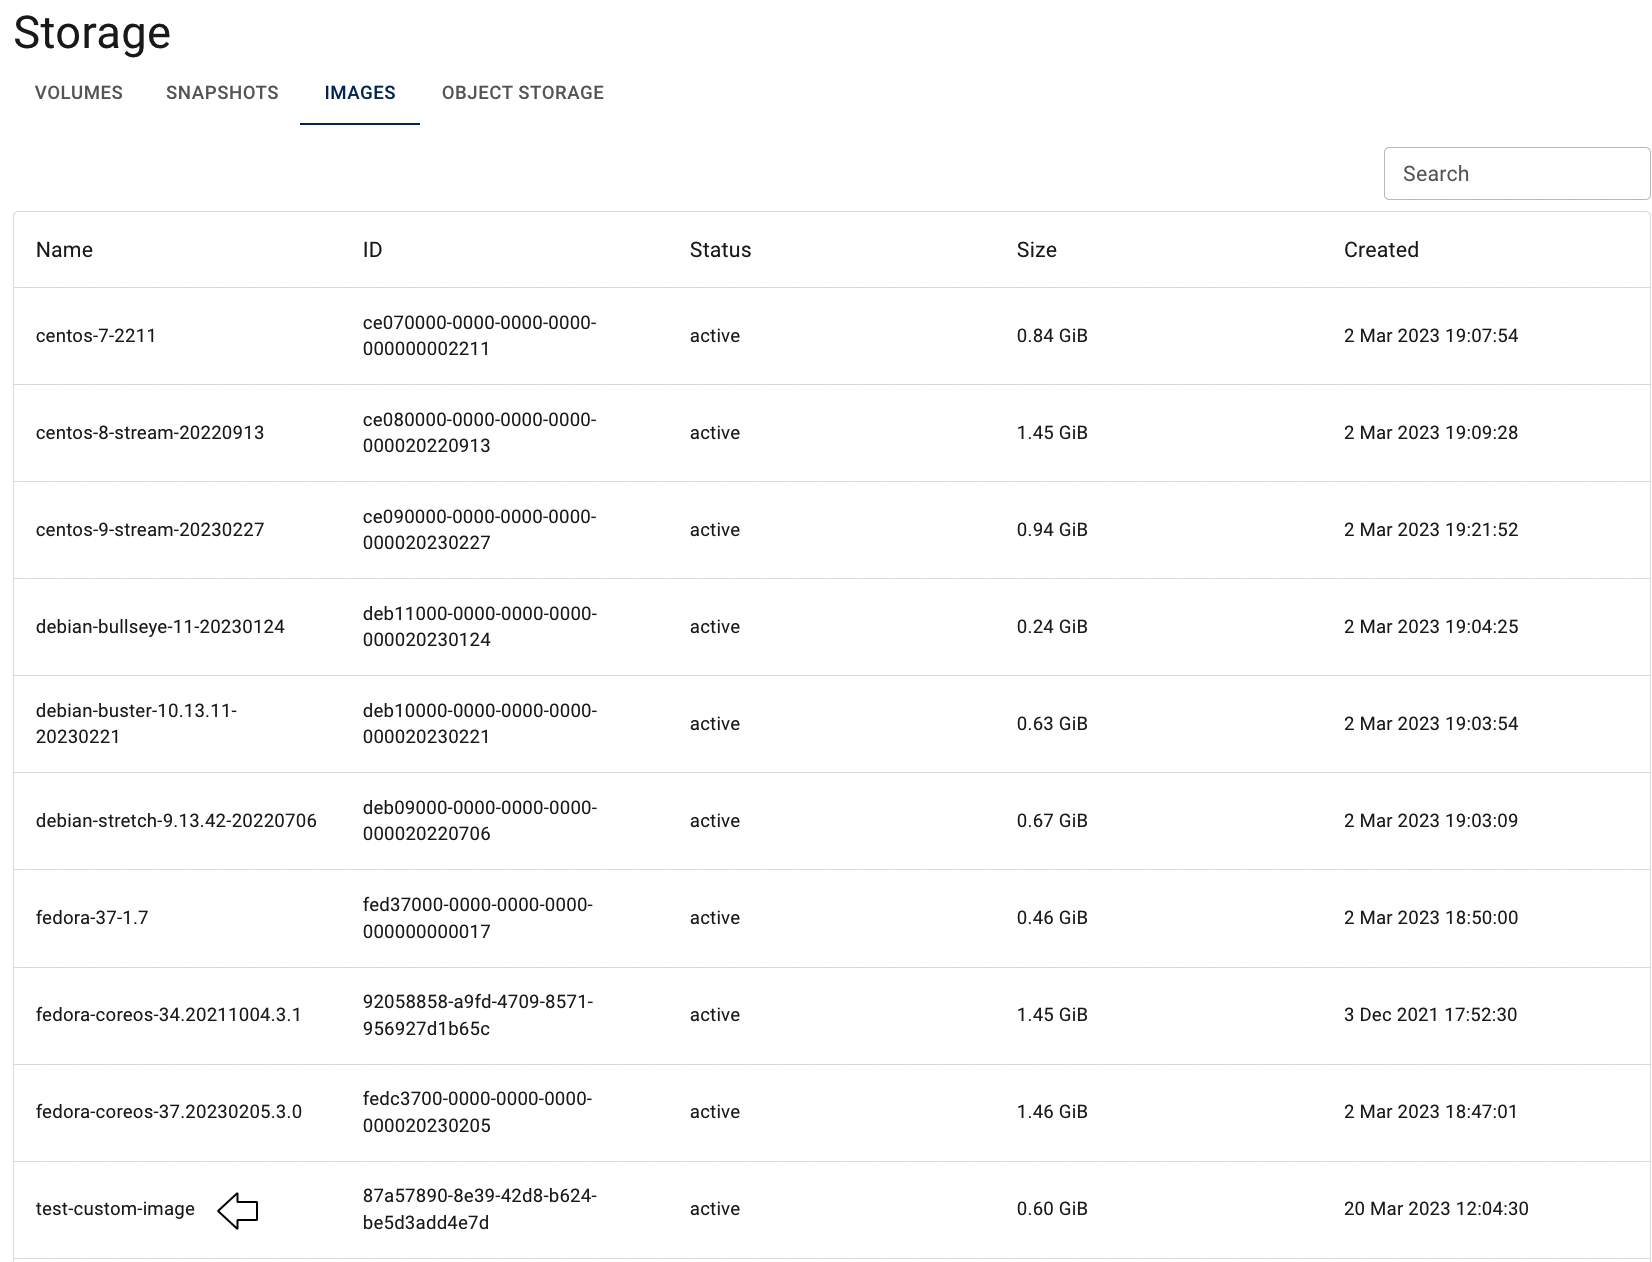
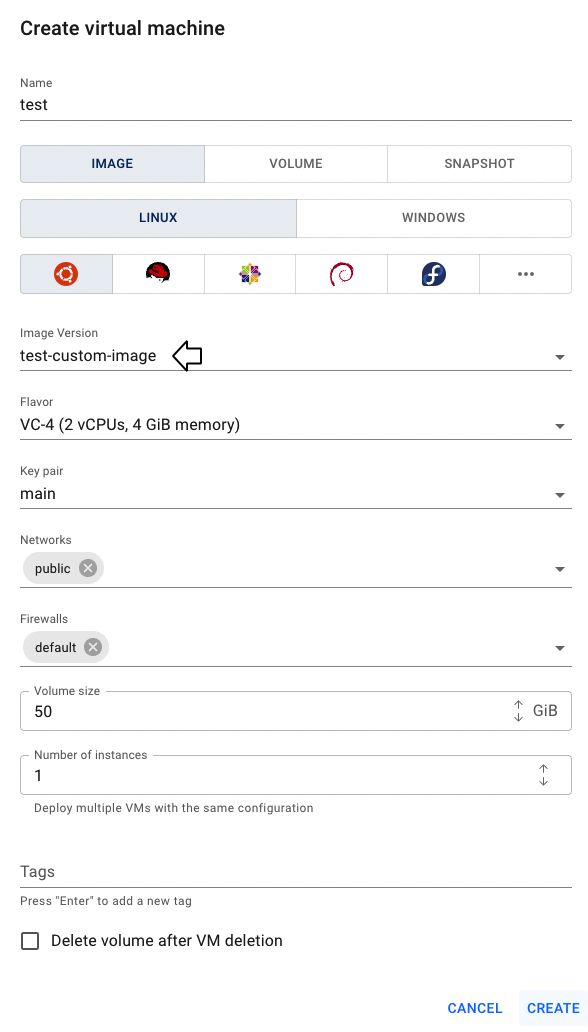
Also, you can find this new Image on the Images page in the Cloud Console and use it during VM creation:
Delete Custom Image
To delete an image, use the next command:openstack image delete <IMAGE-ID>
If the image, that you want to delete is protected, the first step for deleting is to unprotect it, for this use the next command:openstack image set --unprotected <IMAGE-ID>
Create image from Snapshot
The Cloud Console functionality allows to upload custom Images to the system, which will be available for all resources in the current Project.
To find full workflow, of creating a custom Image from Snapshot, please see the article - Create Image from Snapshot.