Databases
On this page, you can find an explanation of how to create, edit, delete Databases and instructions for other steps to manage Databases in the Cloud Console.
Table of contents
Please be aware that the Database-as-a-Service feature in the Cloud Console is currently in beta. This means it has not been fully tested across all use cases but aims to provide a user-friendly way to manage a variety of databases. If you’re willing to accept the associated risks of using a beta service, you’re welcome to proceed. Be sure, customer support is readily available for any questions or issues you may encounter.
Databases page
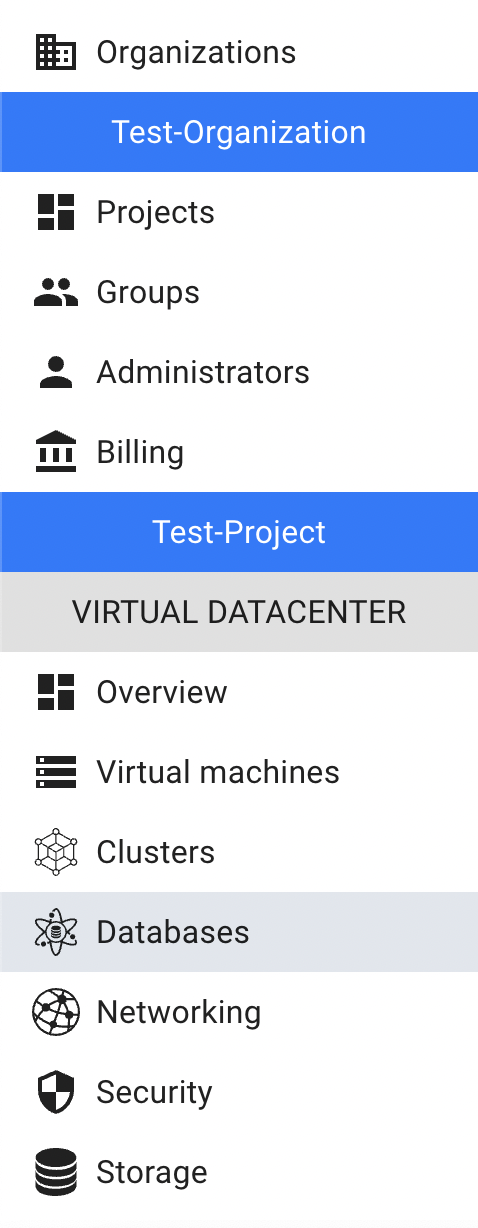
To get to the Databases page, select Databases from the VIRTUAL DATACENTER block in the side-bar menu:
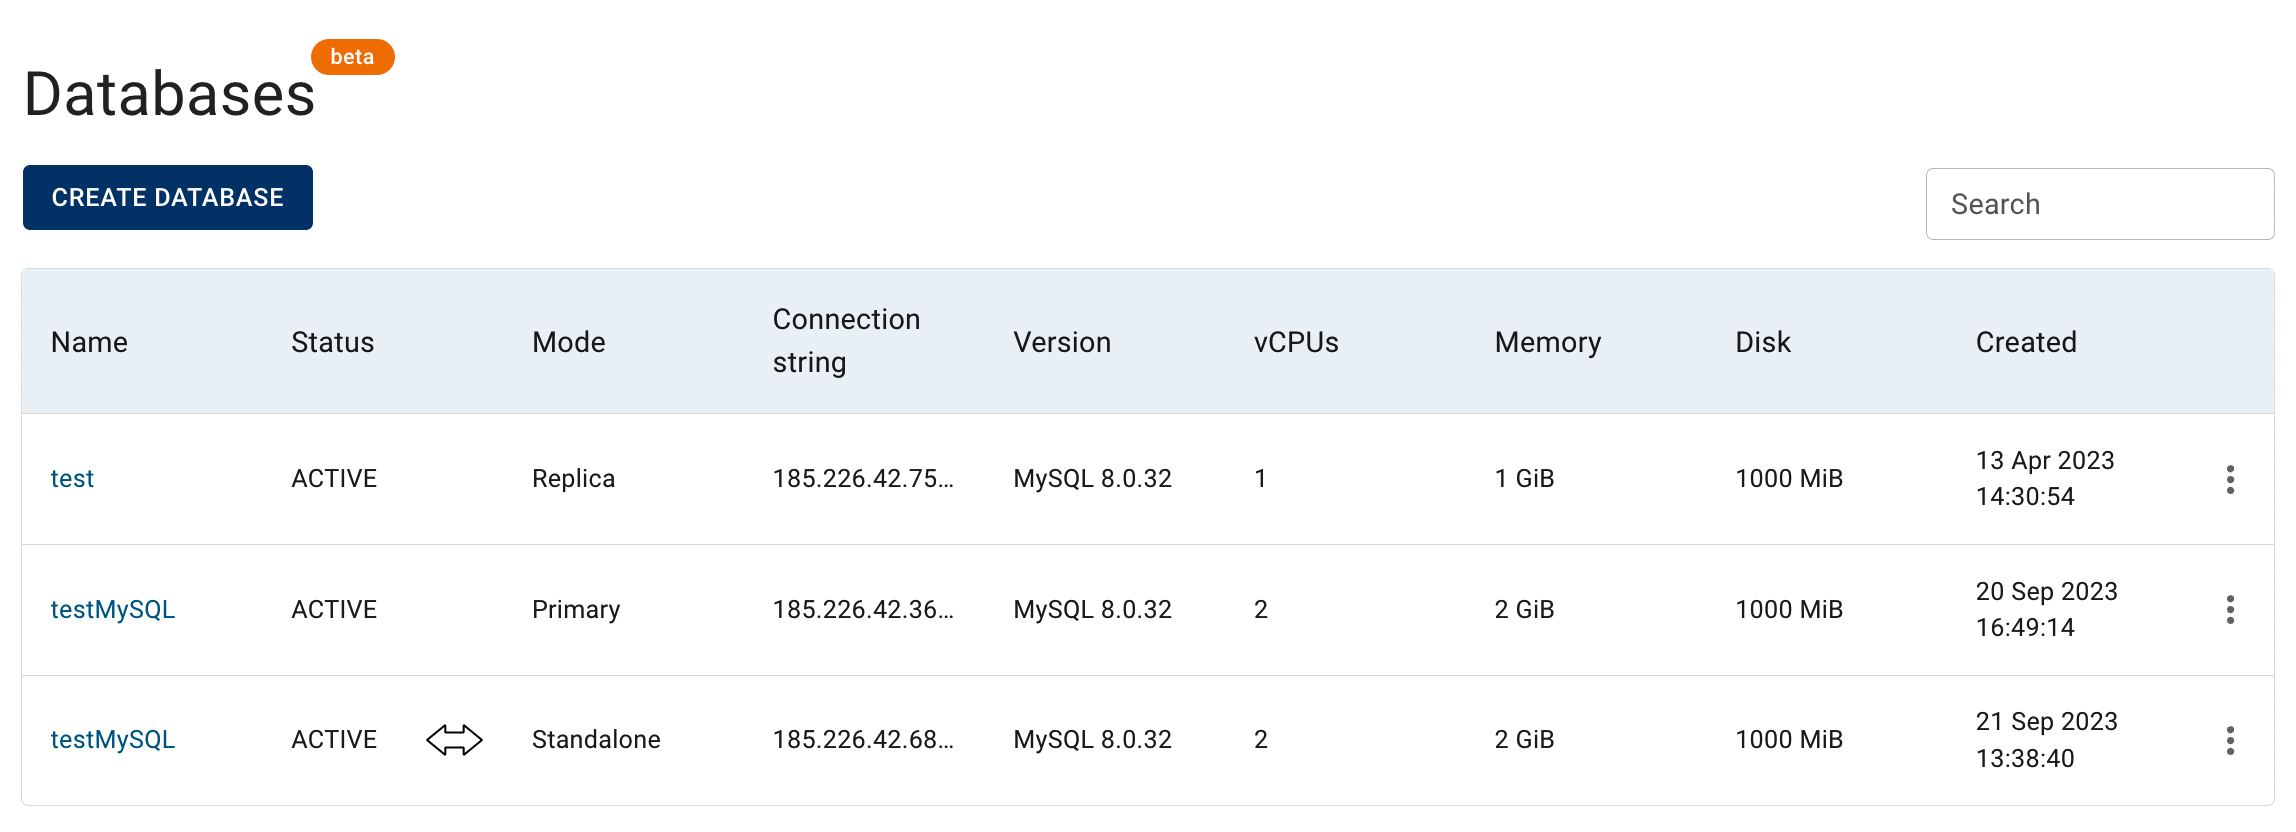
On this page you can find all created Databases with the Create button, Search bar and Actions icon, which opens a list of available management actions for the selected Database:
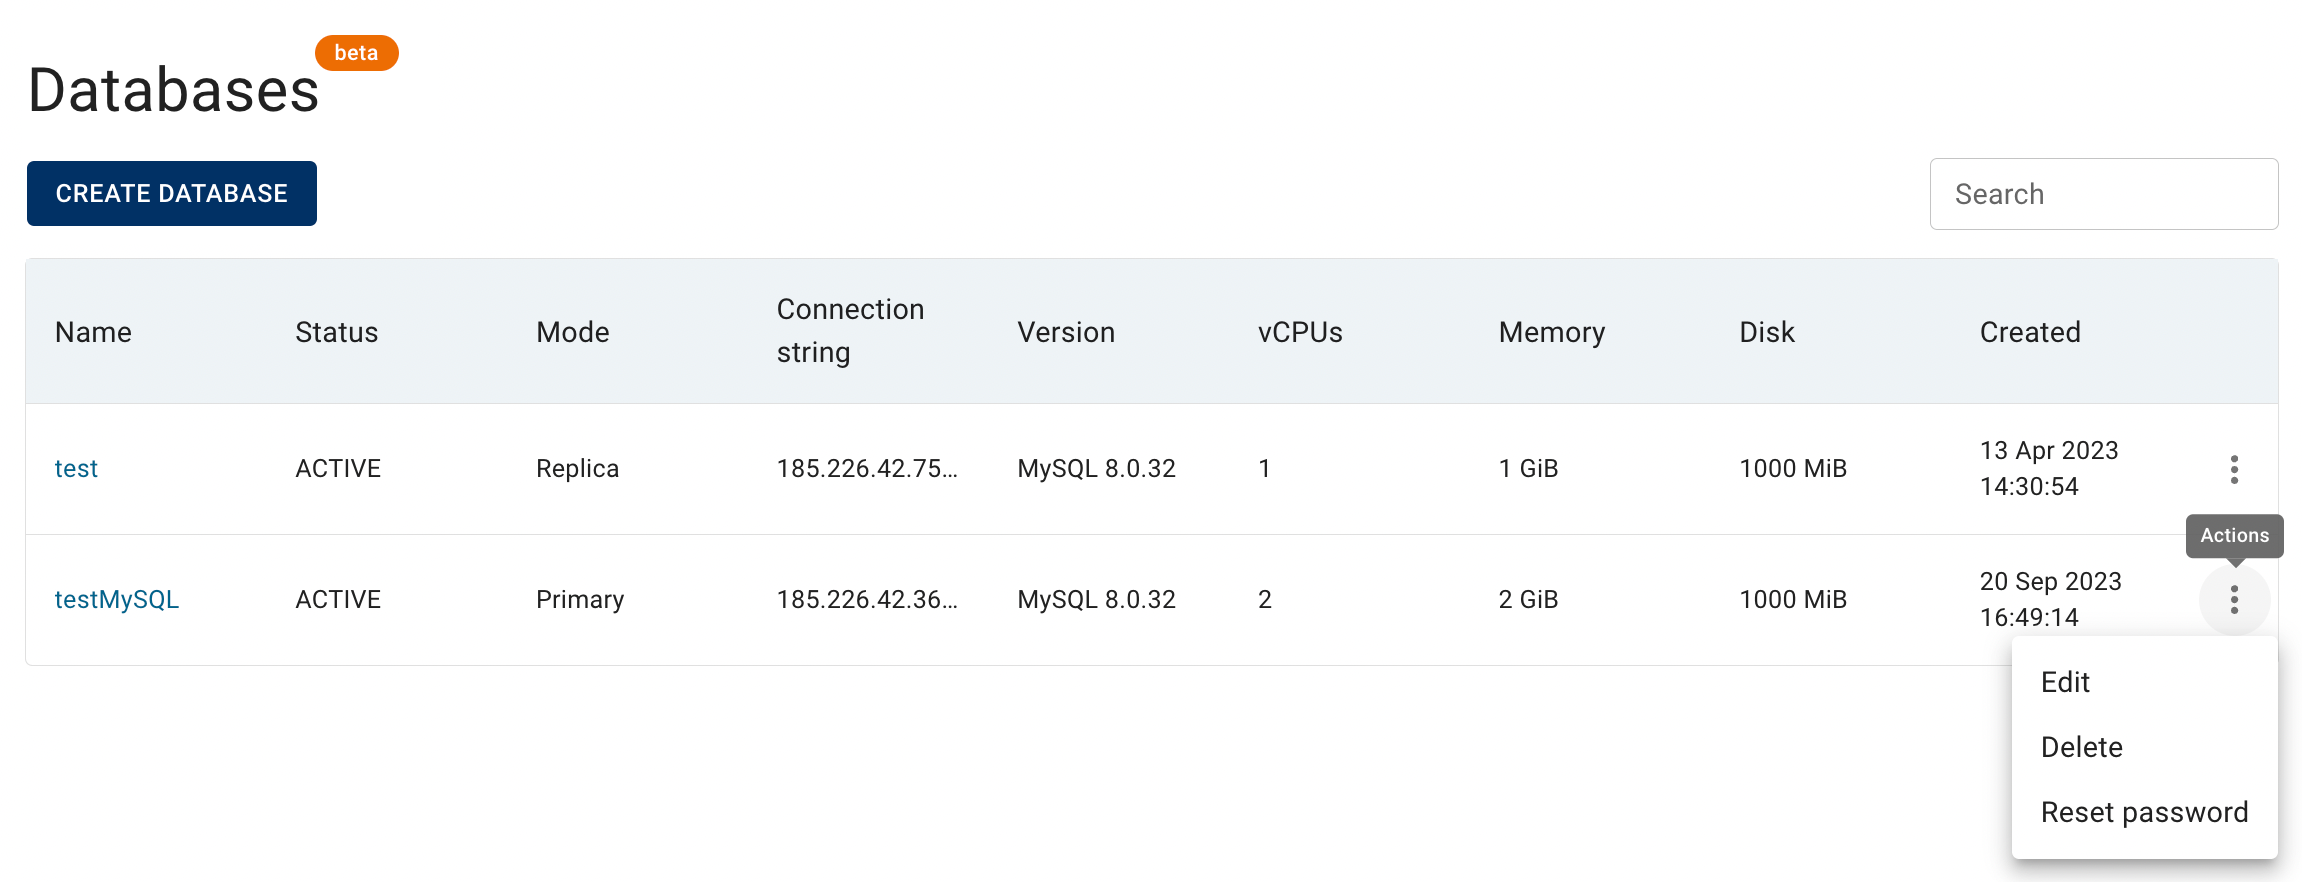
Actions icon opens the next list of available management actions:
- Edit - this option is used to change next parameters of the selected Database: version, port, number of vCPUs, memory amount and IP ACL;
- Delete - this option is for the Database removing;
- Reset Password - this option allows to change the database password;
this option is only accessible for standalone databases and not for replicas.
Create Database
To create new Database do the following:
- go to the Databases page and click the CREATE DATABASE icon in the upper left corner;
- fill in the form on the next opened Create Database window and click on the CREATE icon:
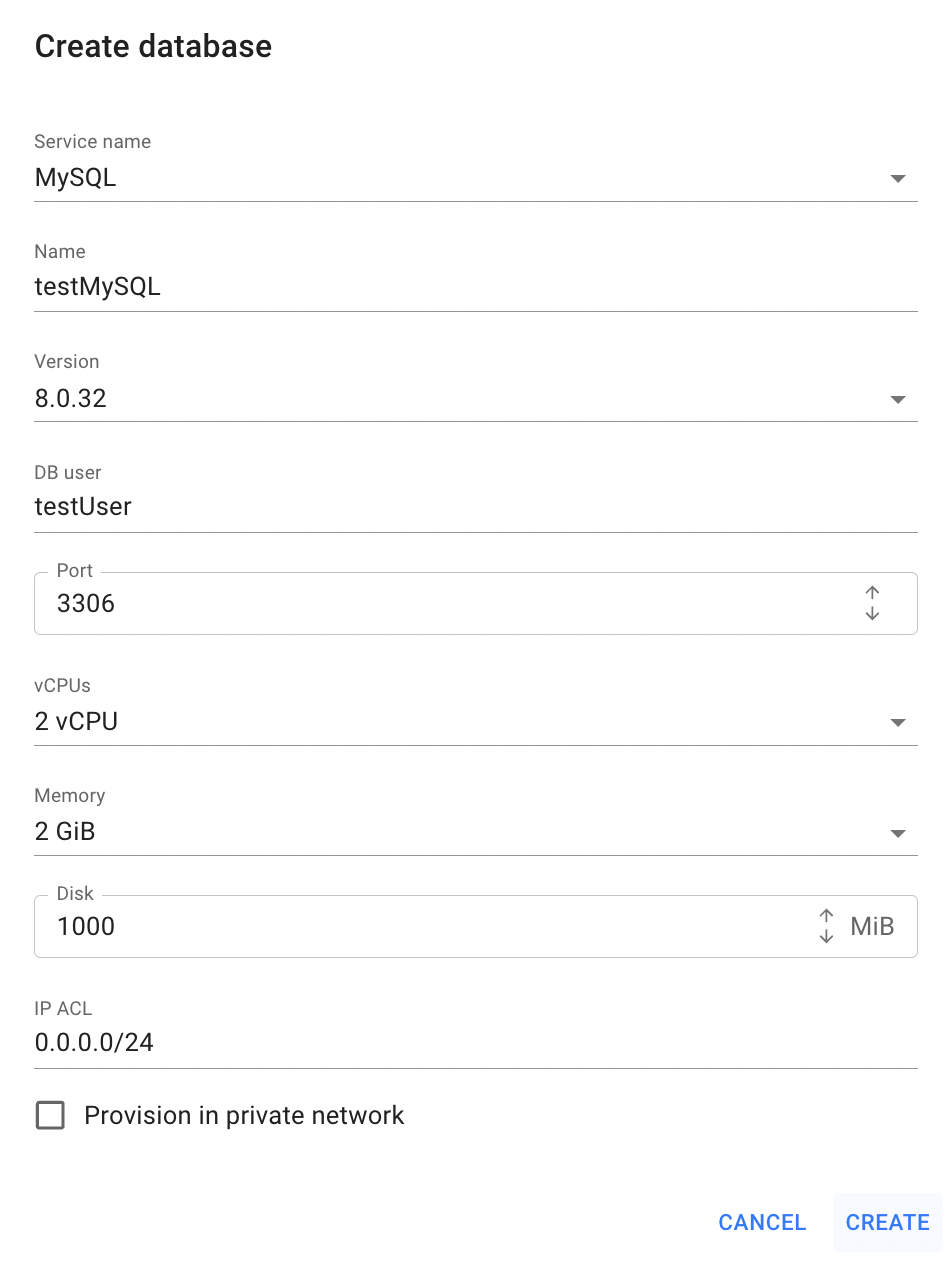
- Service name - choose what database you want to create - now in Cloud Console you have possibility to create PostgreSQL, MySQL or MariaDB Database;
- Name - set a Name for the new Database;
- Version - select service version which you want to use for the new Database;
- DB User - set the name od DB user, that you will use for the connecting;
- Port - set the port for the Database;
by default, default port for each Database Service is pre-selected; - vCPUs - set the number of vCPUs for the new Database;
- Memory - set the Memory amount for the new Database;
- Disk size - set the disk size;
by default, 1000 MiB is pre-selected; - IP ACL - use this option, if you want to open current Database for specified IP Addresses range; or you can provision Database in private network;
After these steps, the newly created Database will be added to the Databases page with a PROVISIONING status. It will initially be in Standalone Mode as no replicas are associated with it. The subsequent window will reveal your database password. Make sure to save this password for future use.
The database will be fully set up in a few minutes once the status updates to ACTIVE.
Database details page
To open the Database details page, click on the Name of the corresponding Database:
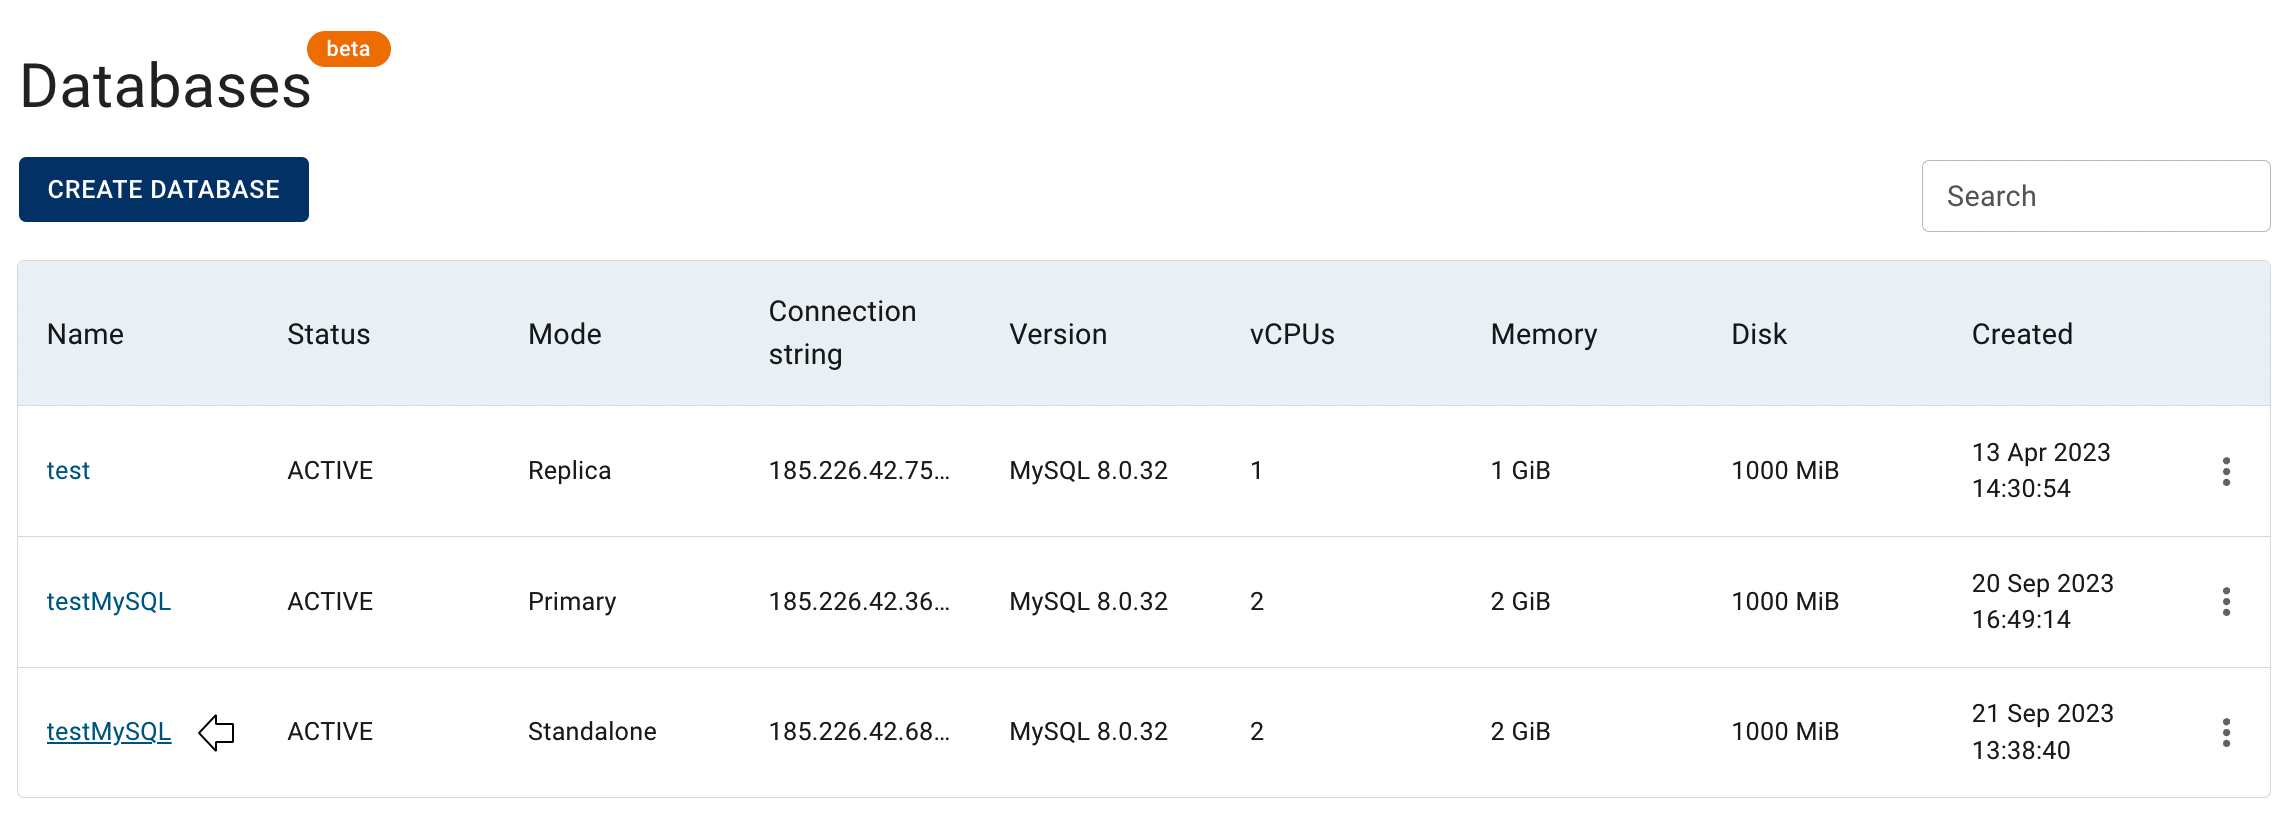
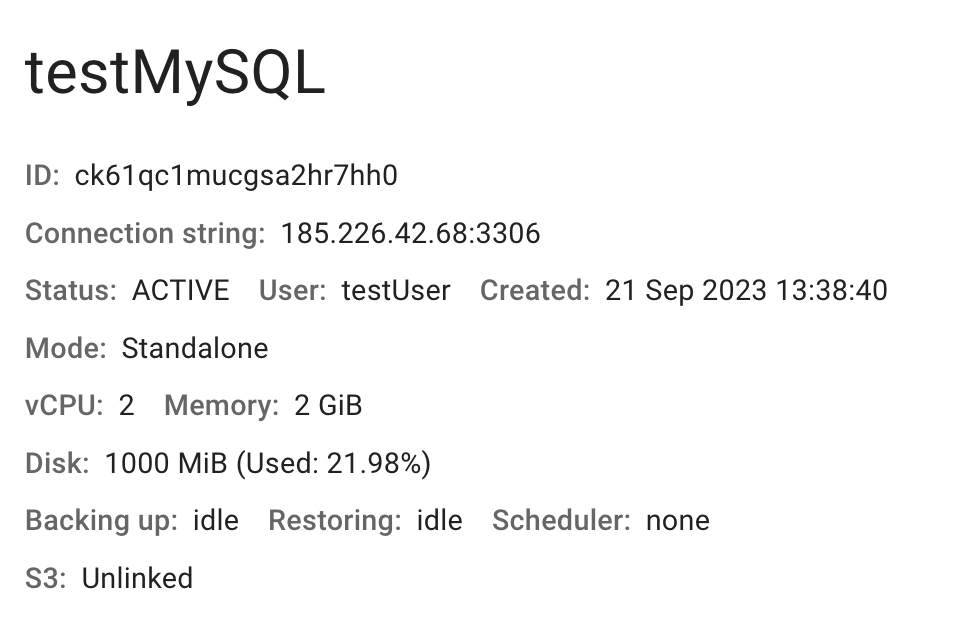
This action will redirect you to the Database details page, where you can find:
Database details area with actual information about it:
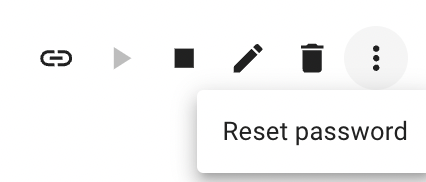
panel with available quick actions:
- Link to S3 storage - this option is used to link the database with the S3 Storage, for managing its backups;
- Start - this option is used to start the database if it was stopped;
- Stop - this option is used to stop the database;
- Edit - this option is used to modify database details like the version, port, number of vCPUs, memory capacity, or IP ACL;
- Delete - this option is for database removing;
- Additional Actions:
- Reset Password - this option allows to change the database password; this option is only accessible for databases in a standalone or primary modes and not for replicas.
transition to the REPLICAS, SCHEDULER and BACKUPS TABs of this database:

REPLICAS TAB - provides information about all created replicas of corresponding database in other Projects, and allows to manage this services: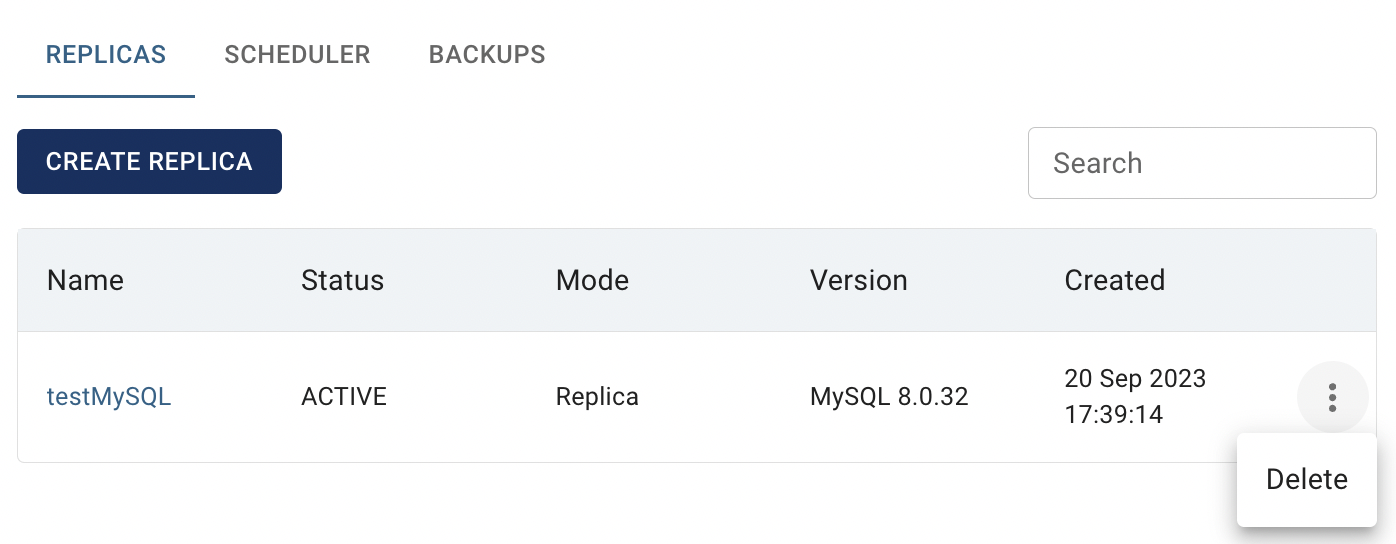
SCHEDULER TAB - provides information about all established backup schedulers for a specific database and allows to manage them:

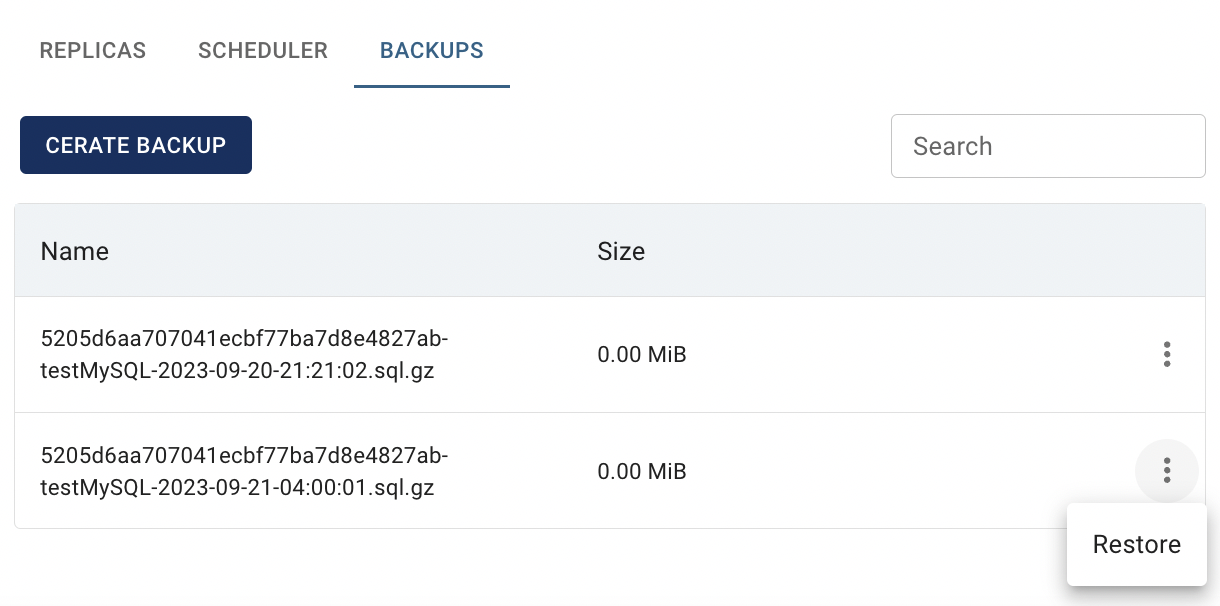
BACKUPS TAB - provides information about all created backups of corresponding database, and allows to manage them or to use one of them for database restore:
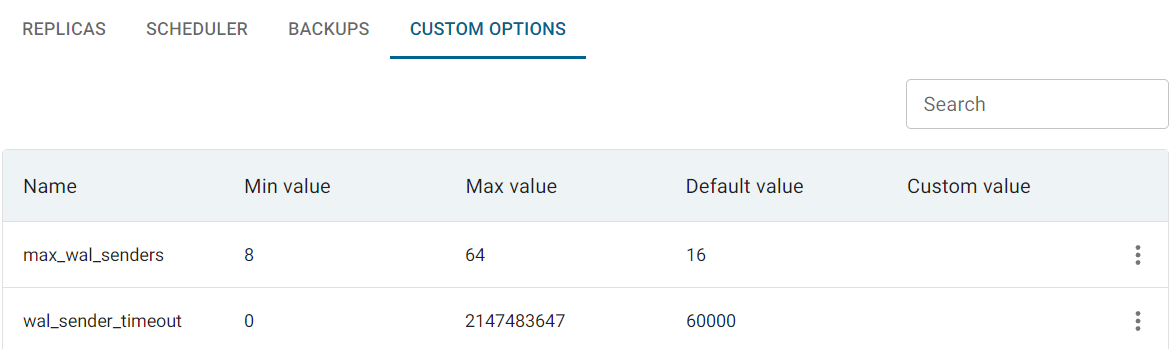
CUSTOM OPTIONS TAB - provides information about all custom options of corresponding database, and allows to manage them:
Details about each tab and its features will be provided in the next articles of this block.
Edit Database
To edit the Database do the following:
- identify Database, that you want to edit, on the Databases page;
- click on the Actions icon and select the Edit in the list of available options;
- modify details like the database version, port, number of vCPUs, memory capacity, or IP ACL on the next opened Edit Database window and click on the SAVE icon:
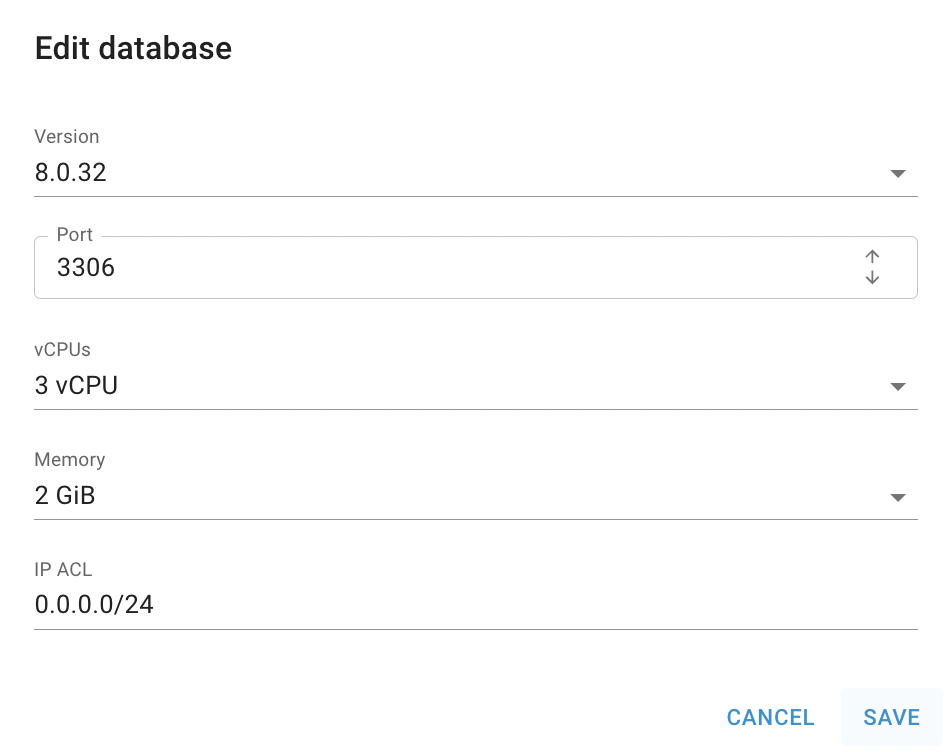
After these steps, the selected Database will be updated in a few minutes.
Also, you can edit the Database from the current Database details page, by clicking on the appropriative quick actions icon there:

Delete Database
To delete the Database do the following:
- identify this unnecessary Database on the Databases page;
- click on the Actions icon and select the Delete in the list of available options;
- confirm the Database deletion on the next opened Confirmation window.
After these steps, the selected Database will be deleted.
Also, you can delete the Database from the current Database details page, by clicking on the appropriative quick actions icon there: