Database's Backups
On this page, you can find an explanation of what is database’s Backups, how to create it and how to restore Database from its Backup in the Cloud Console.
Table of contents
Introduction
Database’s Backups offer an additional layer of security for your databases, similar to Database’s Replicas. However, backed-up data is stored in the designated S3 storage, enhancing its safety.
Within the Cloud Console, you can initiate a database’s backup at any given time, or set up a scheduler to automate your backups. However, for both scenarios, the initial step involves linking the Database to the S3 Storage.
Before you can begin creating database backups, it’s essential to link the Database to your S3 Storage. Don’t overlook this step—detailed instructions will follow in the next section.
To find information about all created backups of corresponding database, to manage them or to use one of it to restore database - navigate the BACKUPS TAB on the Database details page, for this do the following:
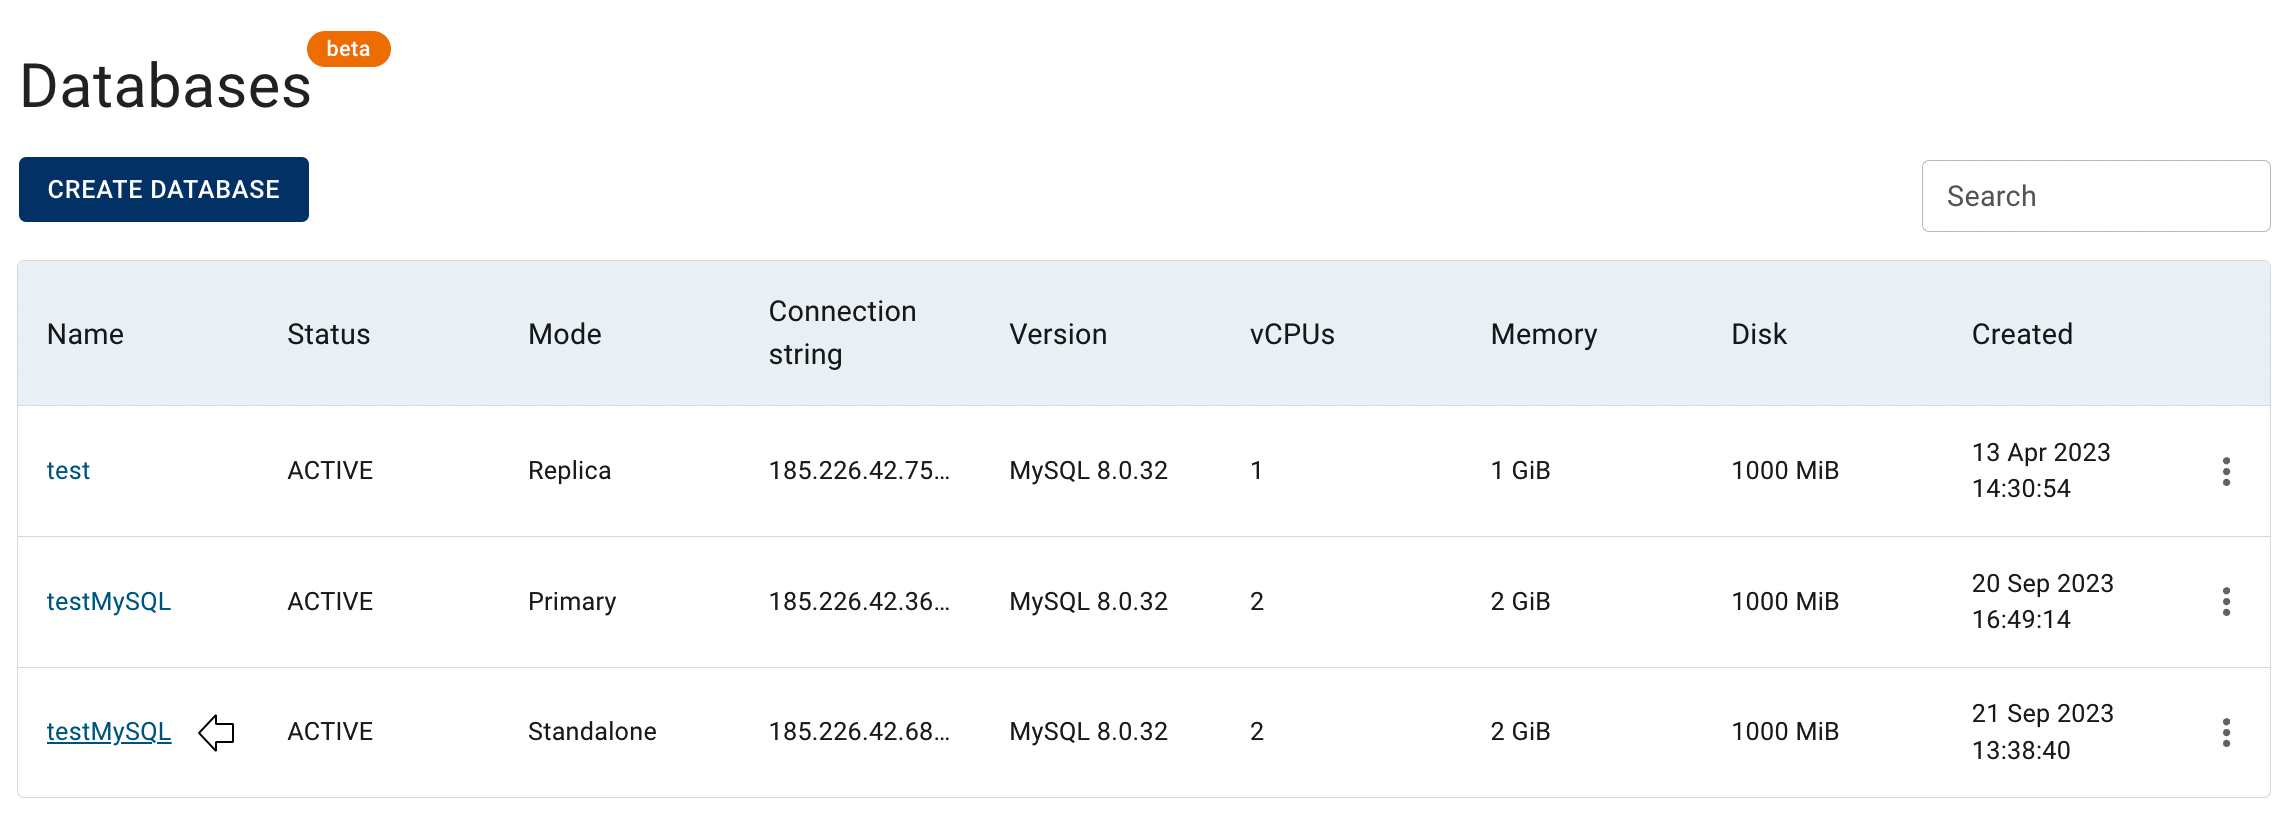
- open the selected Database details page - for this click on the Name of the corresponding Database on the Databases page:
- on the Database details page select the BACKUPS TAB:

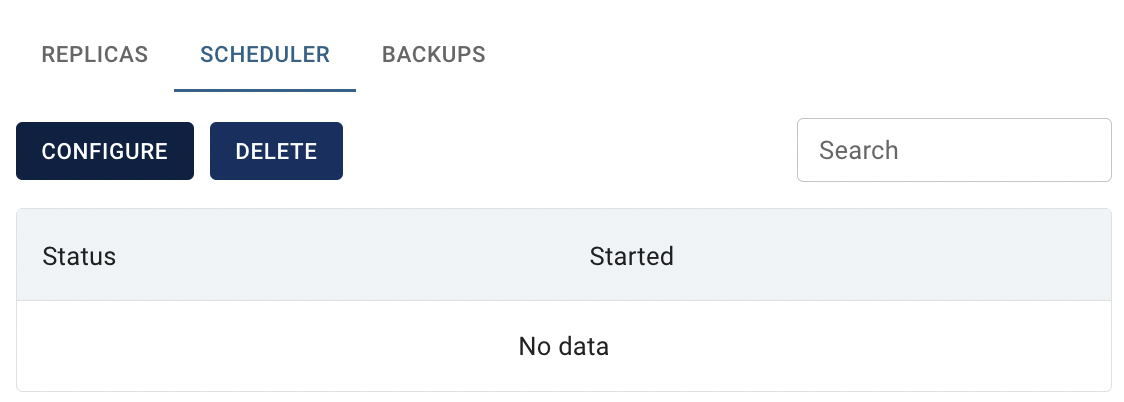
To find information about all established backup schedulers for a specific database and to manage them, navigate to the SCHEDULER TAB on the Database details page:

Link Database to the S3 Storage
To link the Database to the S3 Storage do the following:
ensure that you have already created Object Storage credentials;
to find information how to create Object Storage Credentials in the Cloud Console use the article: Object Storage Credentials.open the selected Database details page - for this click on the Name of the corresponding Database on the Databases page;
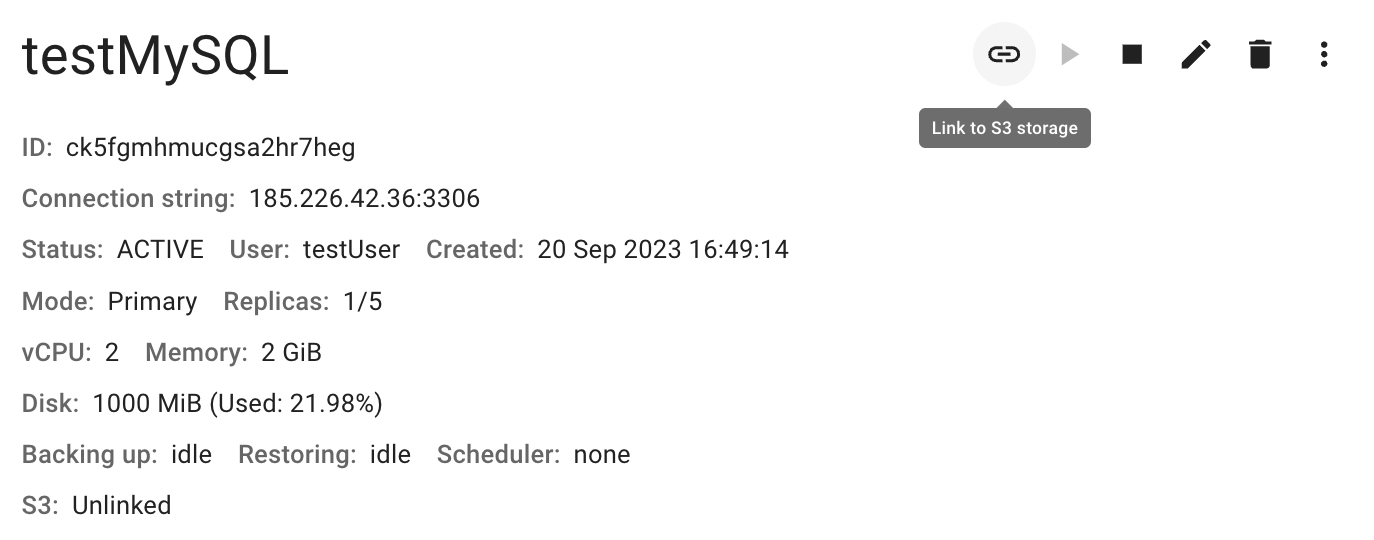
click on the appropriative quick actions icon there:
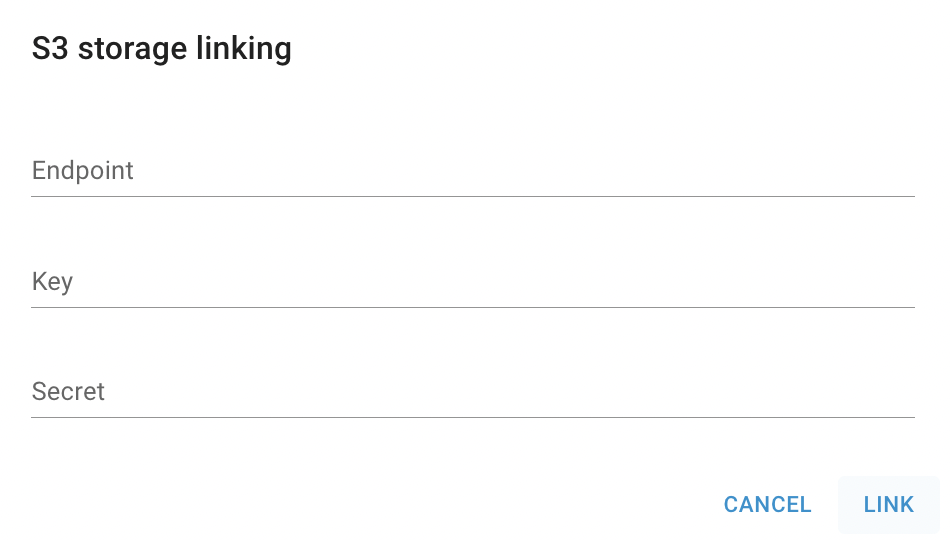
fill in the form on the next opened S3 storage linking and click on LINK icon;
all necessary information you can take form the Object Storage Credentials page;
how to get there, please use the article: Object Storage Credentials;
After these steps, the current database will establish a connection with the specified S3 storage and within the database’s details area, you’ll see relevant updates: the S3 mode will change from Unlinked to Linked, and will be provided details regarding the Endpoint and KEY:
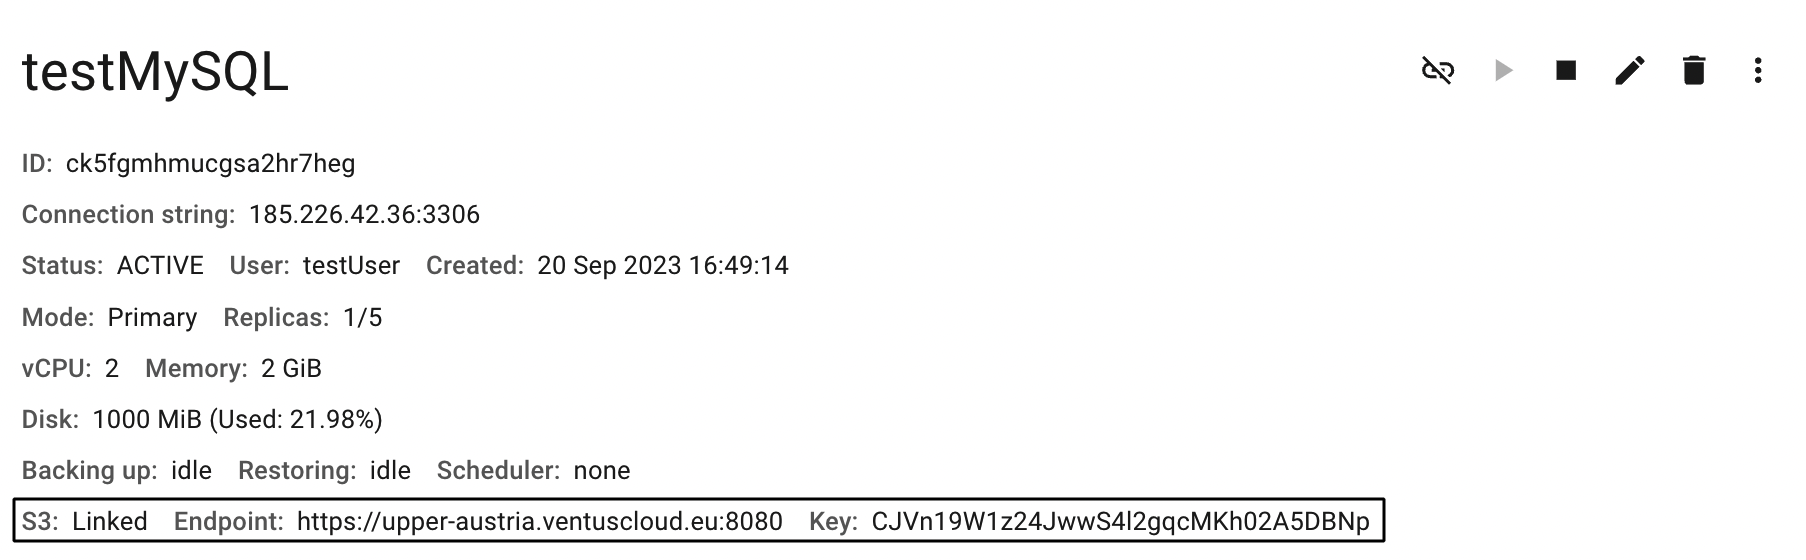
With the S3 linked, you have the capability to create and manage scheduling as well as backups for your database.
Configure the Scheduler for Database Backups
To configure the scheduler for database backups do the following:
open the selected Database details page - for this click on the Name of the corresponding Database on the Databases page;
ensure that the selected database is already linked to the S3 storage:
navigate to the SCHEDULER TAB and click CONFIGURE icon:
fill in the form on the next opened Scheduler configuration and click on APPLY icon:
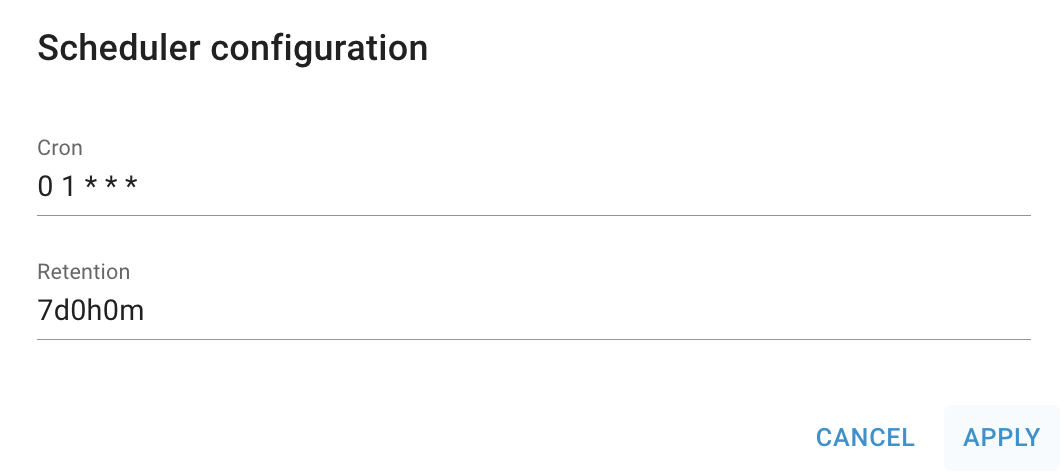
After these steps, the scheduler you’ve set up will be engaged for automating database backups. All the backups created through this scheduler can be found on the BACKUPS TAB.
Create Immediate Database Backup
To create immediate on-demand database backup do the following:
open the selected Database details page - for this click on the Name of the corresponding Database on the Databases page;
ensure that the selected database is already linked to the S3 storage:
navigate to the BACKUPS TAB and click CREATE BACKUP icon:

confirm your action on the next opened Confirmation window.
After these steps, the newly created Backup of the current database will be added to the BACKUPS TAB and can be used to restore the database.
Restore Database from Backup
To restore database form the backup do the following:
open the selected Database details page - for this click on the Name of the corresponding Database on the Databases page;
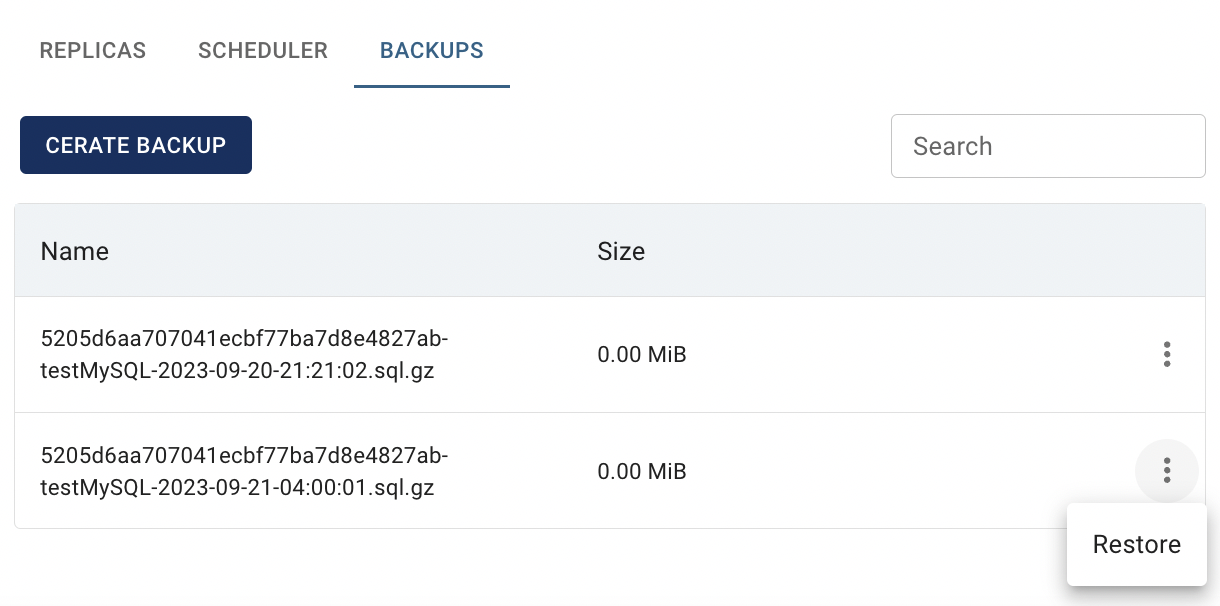
navigate to the BACKUPS TAB and select the backup, that you want to use to restore database;
click on the Actions icon and select the Restore in the list of available options;
confirm your action on the next opened Confirmation window.
After these steps, the database restoring will be started.