Groups
On this page, you can find an explanation of how to create and manage a new Group in the Cloud Console.
Table of contents
Groups page
In the Cloud Console, using Groups lets you add users to your project within your organization. As ‘members’ of your organization they can access specified project resources but can’t add or remove users, view admin details, create or edit projects within that organization.
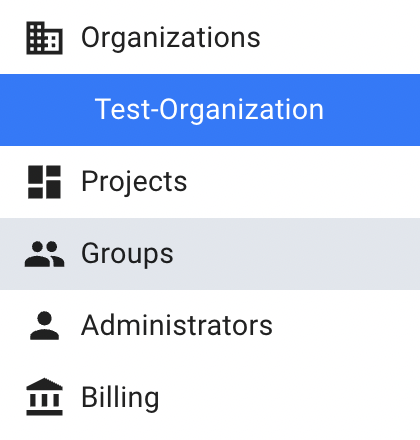
To get to the Group page, select the Groups from the side-bar menu:
On this page you can find all created Groups, related to the selected Organization with the Create button, Search bar, and Actions icon, which opens a list of available management actions for the selected Group:

Actions icon opens the next list of available management actions:
- Edit - this option is using to change the Group name;
- Delete - this option is using to remove the Group.
Create Group
To create a new Group, do the following:
- go to the Groups page and click on the CREATE GROUP icon in the upper left corner;
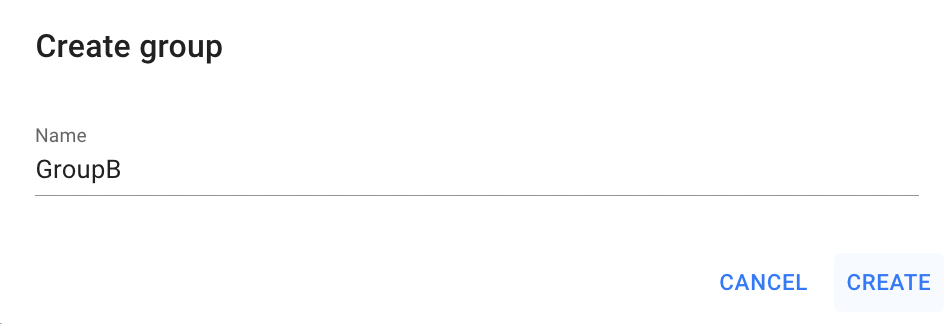
- specify the Name of the Group on the next opened Create Group window and click on the CREATE icon:
After these steps, the newly created Group will be added to the Groups page.
As the next step, is recommended to configure the created Group.
Configure Group
To set up the Group membership and permissions you can from the Group details page.
To get to the Group details page click on the Name of the corresponding Group:

On the Group details page you can see two blocks: the first top block displays a list of Projects, and the second one shows Users (Members) who was assigned to work with these projects:

So, from this page you can:
- review which Users have access to which Projects;
- add more Users to the selected Projects;
- assign more Projects to the selected Users;
- remove Users from the selected Projects;
- remove Projects from access of selected Users;
Manage Projects in Group
You can add as many Projects to the Group as you need.
To add the Project to the selected Group, do the following:
- go to the Group details page and click on the ASSIGN PROJECT icon;
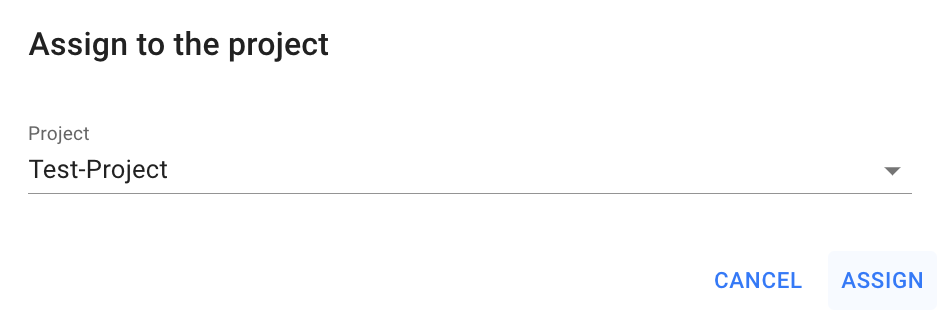
- select the Project, to which you want to assign Users, from the second block, and click on the ASSIGN icon:
After these steps, the newly added Project will appear in the first block of the Group details page with active Actions icon:

Actions icon after accepting invitation opens the next list of available management actions:
- Remove - this option is using to delete the Project from the Group.
Users from the second block will have access to this Project and, accordingly, to all resources in this Project, but they will not be able to add new projects to this Organization, and manage the Groups and Administrators of the Organization that owns this Project.
Manage Users in Group
You can add as many Users and Projects to the Group as you need. Their role in the Organization will be a “Member”, and they will only have access to the currently assigned projects to the Group.
You can add only those Users, who have already passed the registration stage in the Cloud Console.
If you need to add a User who isn’t yet registered, you can create an account in the Cloud Console for the user before adding them as a Member to the selected Group.
Add a Member to the Group (Registered User):
To add a new User to the selected Group, do the next:
- go to the Group details page and click on the ADD MEMBER button;
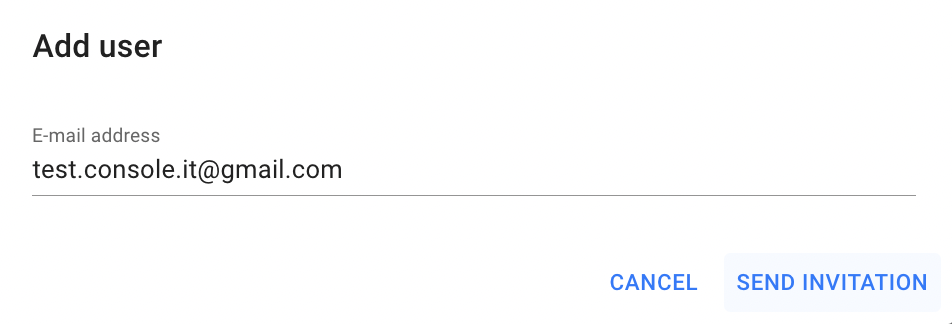
- specify the E-mail address of the User, that you want to add to the group, and click on the SEND INVITATION icon:
Add a Member to the Group (New User):
If the user isn’t yet registered, you can create an account in the Cloud Console for the user before adding them as a Member to the selected Group. To do it, follow these steps:
- go to the Group details page and click on the ADD MEMBER button;
- on the next opened Add Member window check the Register new user checkbox:

- fill in the form on the next opened Register new user window and click on the REGISTER button:

- after completing the registration, return to the Add Member window, enter the newly registered email address and click on the SEND INVITATION button:

After this, the User, whose email address you entered in the invitation, will receive an email with the Accept invitation link. By clicking on this link, the user will be redirected to the Cloud Console, where he need to click the ACCEPT INVITATION icon.
And on the yours Group details page you will see the added information about your invitation with the active Actions icon:

Actions icon in this step opens the next list of available management actions:
- Resend invitation - this option is using to send one more invitation with the Accept invitation link.
- Delete invitation - this option is using to block the Accept invitation link in the invitation.
When the invited User accepts your invitation, he will get access to the Projects, that you provided in the appropriate Group, and on your Group details page you will see this newly added User with active Actions icon:

Actions icon after accepting invitation opens the next list of available management actions:
- Remove - this option is using to delete the User from the Group.
After these steps, invited User becomes a Member of the current Organization and has access only to the assigned Project:

Member - this role is assigned to a User who is granted access to the Organization’s Project and, accordingly, to all resources within this Project. Member can’t add/remove other Users in the Project, can’t see information about Administrators of the Organization/Project, can’t add new Projects, edit or delete current one.
Edit Group
To edit the Group, do the following:
- identify the Group, that you want to edit, on the Groups page;
- click on the Actions icon and select the Edit in the list of available options;
- update the Name of the selected Group on the next opened Edit Group window, and click on the SAVE icon.
After these steps, the selected Group will be updated.
Delete Group
To delete the Group, do the following:
- identify the unnecessary Group on the Groups page;
- click on the Actions icon and select the Delete in the list of available options;
- confirm the Group deletion on the next opened Confirmation window.
After these steps, the selected Group will be deleted.