Projects
On this page, you can find an explanation of how to create a new Project, and how to manage them in the Cloud Console.
Table of contents
Projects page
To see information about Projects of the Organization and to manage them, you can only if your User Role in this Organization is an Administrator or Owner.
To see information about created Projects in the Organization or create more Projects in it, go to the Organizations page and click on the Name of the appropriate Organization:

This action will open additional sections on the side-bar menu and redirect you to the Projects page, where you can find all created Projects, related to the selected Organization with the Create button, Search bar and Actions icon, which opens a list of available management actions for the selected Project:
- Edit - by selecting this option, you can change the Project name;
- Delete - this option is for Project removing.
Additionally, from this page, you can navigate to the overview page of each created Project by clicking on its name. There, you will find resource utilization graphs and quota details. More information about the Project overview page will be provided in the following sections.
Create Project
To create a new Project, do the following:
- go to the Projects page and click on the CREATE PROJECT icon in the upper left corner;
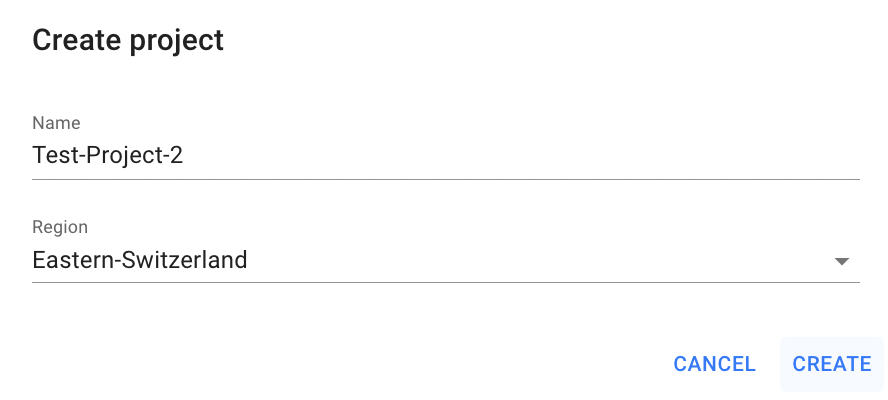
- fill in the form on the next opened Create Project window and click on the CREATE icon:
- Name: set a name for the Project;
- Region: specify, which region this Project will belong to. All other cloud resources, that will be created in this Project, will belong to this region too.
After these steps, the newly created Project will be added to the Projects page and you can navigate to the Project overview page by clicking on its name:

All subsequent services provided by the Cloud Console within the one Project, will be created in the corresponding Region, in which this Project was created.
Project Overview Page
To open the Project overview page, click on the Name of the appropriate Project on the Projects page:

This action will redirect you to the Project overview page, where you can find:
project details area with actual information about it (id, region):

resource utilization graphs with its quota details:

Edit Project
To edit the Project, do the following:
- identify the Project, that you want to edit on the Projects page;
- click on the Actions icon and select the Edit in the list of available options;
- update the Project Name on the next opened Edit Project window, and click on the SAVE icon.
After these steps, the selected Project will be updated.
Also, you can edit the Project from the Project overview page, by clicking on the appropriative quick actions icon there:

Delete Project
Deleting a Project will permanently erase all related resources, including virtual machines, Kubernetes clusters, volumes, and other components, with no option for recovery.
To delete the Project, do the following:
- identify this unnecessary Project on the Projects page;
- click on the Actions icon and select the Delete in the list of available options;
- confirm the Project deletion on the next opened Confirmation window.
After these steps, the selected Project will be deleted.
Also, you can delete the Project from the Project overview page, by clicking on the appropriative quick actions icon there:

Add users to Project
To add Users to the Project, you need to create a Group, in which you can create a list of Projects and a corresponding list of Users, who will be added to this Project as Members.
For more details, please, see - Groups
Added Members to the Group will have access to Projects from this Group and, accordingly, to all resources in this Project, but will not be able to see information about each other and manage the Groups and Administrators of the Organization that owns this Project or add additional Projects to this Organization.